
Match the machine to your sticker layout
Regular sheets, mixed layouts and free placement do not need the same machine. Layout is usually the first buying filter.
Volume and repeat orders
Samples and small batches need flexibility. Repeat sheet production needs saved paths, stable fixtures and stronger process control.
Resin and sample testing
The right machine cannot fix the wrong resin, poor surface adhesion, bubbles, yellowing or unstable curing by itself.

Step 1: Confirm Your Sticker Layout
Confirm whether product positions can repeat in the fixture and how often the outline or artwork changes. These two facts determine whether a saved path remains practical and what setup work needs testing.
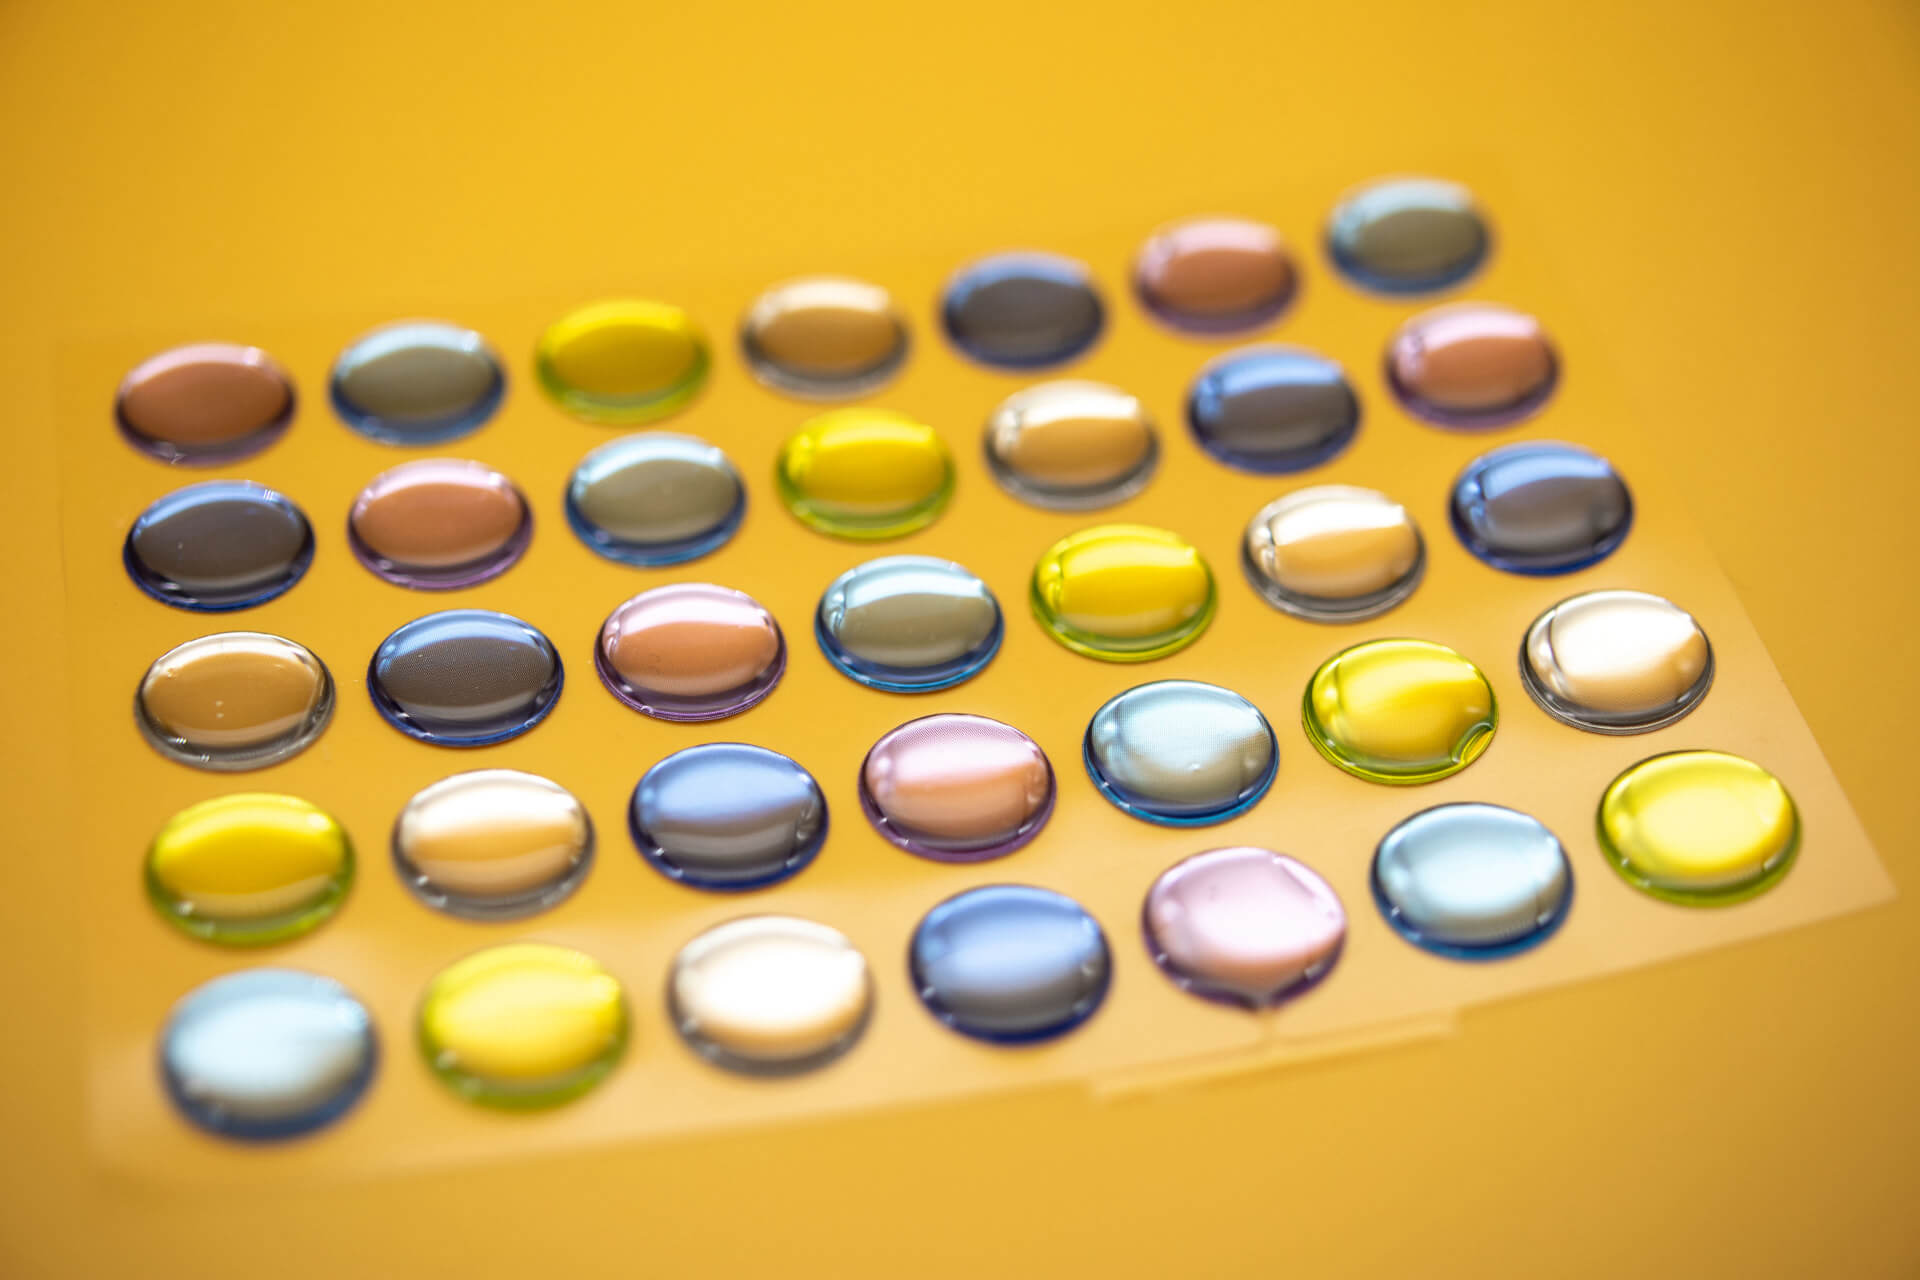
Rows, columns and stable spacing
Best for repeat production where a 3-axis machine can follow saved coordinates and fixtures hold the sheet in the same place.
Different sizes or random positions
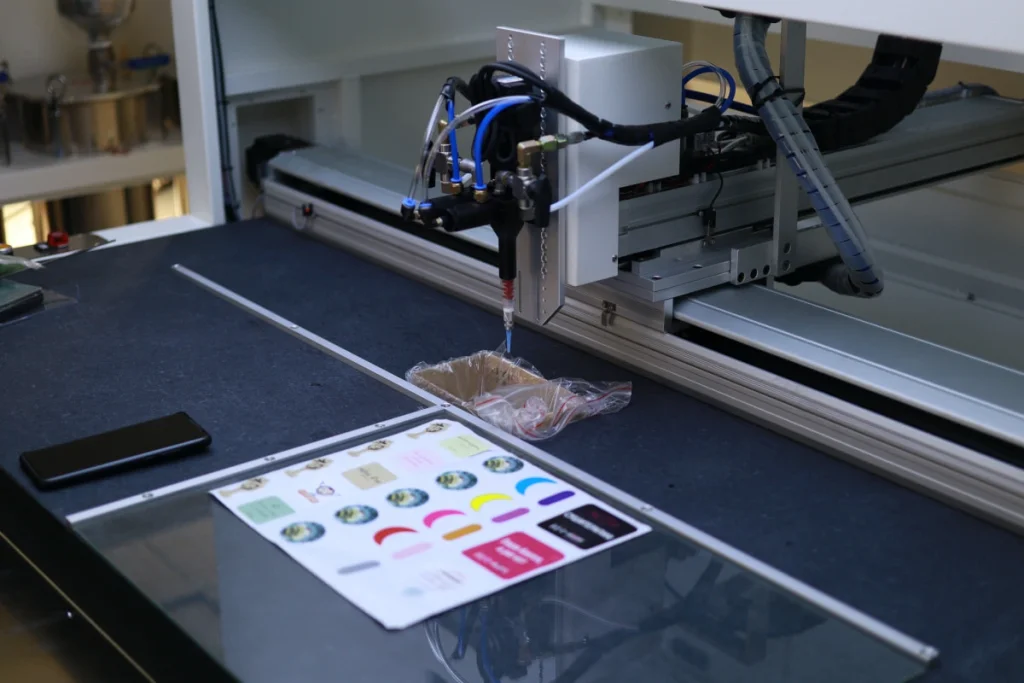
Compare CCD when placement or printed reference position varies. If positions repeat, a saved 3-axis path can still suit different shapes.
Samples and small batches
Better for semi-auto operation when the customer changes artwork, material or product size frequently.
Step 2: Match Production Volume to Automation Level
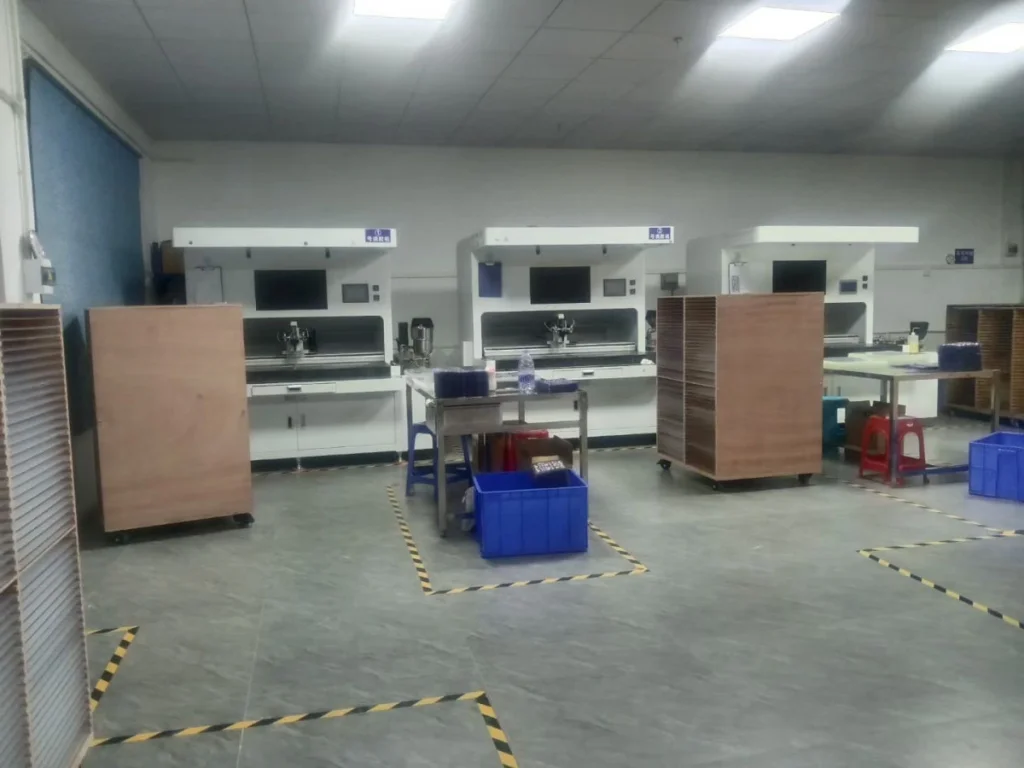
Production volume affects whether flexibility or repeatability is more valuable. A small workshop making samples does not need the same setup as a factory running repeat sheets every day. For practical planning, compare effective output, not only the theoretical machine speed.
Effective output depends on product size, sheet layout, number of dispensing heads, resin viscosity, dome height, loading speed, curing rack capacity and reject rate. The same machine can give very different daily results when any of these factors changes.
| Your Situation | Best Starting Point | Output Reality / Watch Out |
|---|---|---|
| Samples, custom orders or low volume | PJ180 semi-auto doming machine | Best for flexible sample work. Daily output is limited by operator rhythm, loading speed and curing turnover. |
| Regular sheets and repeat orders | 3-axis automatic doming machine | Saved paths improve repeatability when sheet layout is stable; multi-head dispensing helps only when spacing and resin flow are ready. |
| Placement or print-position variation; irregular designs with frequent path changes | CCD vision doming machine | Compare camera alignment when positions vary, or SJ4060 visual path creation and editing when irregular designs change often. It may not be faster than 3-axis automation on simple regular sheets. |
| High output on repeated patterns | 3-axis or CCD with multi-head option | Do not choose by head count alone. Confirm resin flow, fixture stability, loading and curing rack capacity with real samples. |
Step 3: Check Resin Before Final Machine Selection
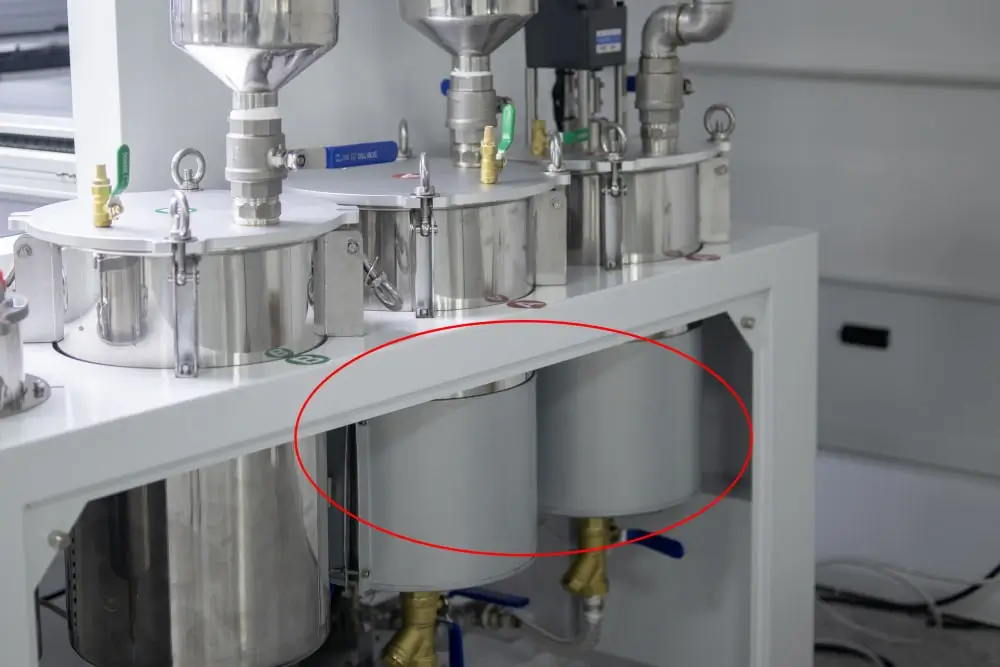
A sticker doming machine controls resin metering, mixing, dispensing volume, movement, path and repeatability. Resin and the wider process still control curing, hardness, flexibility, weather response, bubble behaviour and final surface durability. A higher-level machine cannot compensate for the wrong resin, poor surface preparation or unsuitable curing conditions.
- Epoxy resin: often a practical starting point for indoor, rigid and standard sticker doming.
- Polyurethane resin: often worth testing for outdoor, flexible or UV-exposed decals and labels.
- Heating and viscosity: some resin setups need tank heating, hose heating or controlled temperature to keep flow stable.
- Sample testing: real material, ink, coating and dome height should be tested before bulk production.
Use the doming resin center and the epoxy vs polyurethane doming resin guide before locking the final machine configuration.
Step 4: Do Not Ignore Defect Risk
The wrong machine choice usually creates positioning, speed or repeatability problems. The wrong resin or process creates bubbles, tacky curing, yellowing, poor edge control or adhesion failure. A useful buying guide should separate these two risk types.
Wrong layout match
A 3-axis path may fail if stickers shift, holes are inconsistent or the sheet is placed freely without stable fixtures.
Wrong final performance
Outdoor labels, flexible decals and unknown surfaces can fail if resin type, curing or adhesion is not tested first.
Wrong production setup
Nozzle height, dispensing volume, mixer condition, heating and curing environment can all change finished sticker quality.
Three buying mistakes can create the wrong configuration even when the machine itself works correctly:
- Buying only by lowest price: a lower initial cost can be offset by scrap, repeated operator correction or an upgrade that was predictable from the product layout.
- Automating before the layout and resin process are stable: automation repeats the current process; it does not make an unstable sheet, material or cure cycle reliable.
- Treating path editing and positioning as the same problem: confirm separately whether the risk is an unstable product reference or the work of creating and revising a path.

If defects are already happening, read the resin doming troubleshooting guide before changing machine models.
Recommended Buying Path
- Start with the product: decal, label, badge, keychain, nameplate or promotional item.
- Confirm the layout: regular sheet, mixed shapes, holes, cutouts, free placement or print shift.
- Estimate volume: samples, small batches, repeat sheets or high-output production.
- Test resin: epoxy or polyurethane, target dome height, curing and surface adhesion.
- Choose the machine: semi-auto, 3-axis automatic or CCD vision-guided system.
- Plan accessories: mixers, nozzles, hoses, heating parts, fixtures and spare parts for stable production.
Before asking for a recommendation, prepare product photos or artwork, the sheet layout, substrate material, product dimensions, target dome height, expected monthly volume, indoor or outdoor use, and any current defect. These details help separate a machine-selection issue from a resin, surface or curing issue.
For a broader comparison of machines, use the doming machine selection center. For application-specific requirements, start with domed decals, domed industrial labels or domed nameplates. For spare parts and production stability, check doming machine accessories.
FAQ
Which sticker doming machine should I choose first?
Use the buying path above: confirm the product, repeatable positioning, operator workload, resin and sample results before comparing models.
Is CCD vision always better than a 3-axis automatic machine?
No. Camera capability does not automatically increase output or correct resin quality. Compare the real sample, positioning reliability and setup work before deciding which workflow is useful.
Can one sticker doming machine work with both epoxy and PU resin?
Many systems can be configured for different two-component resins, but resin viscosity, mixing ratio, pot life, heating and curing requirements should be confirmed before production.
Do I need sample testing before buying?
Sample testing is strongly recommended when your material, resin type, dome height, outdoor use or production layout is not fully confirmed. It reduces the risk of buying the wrong machine configuration.
Final Selection Logic
Choose from the evidence in the table and buying path: product and layout first, operator workload and repeatability next, then resin and sample validation before the final configuration.