
1
View Application Guide →Choose the right epoxy or polyurethane resin for your product material, dome height, use environment and doming machine setup.
Robota supports resin selection, sample testing and machine setup for domed decals, labels, nameplates, badges and keychains.
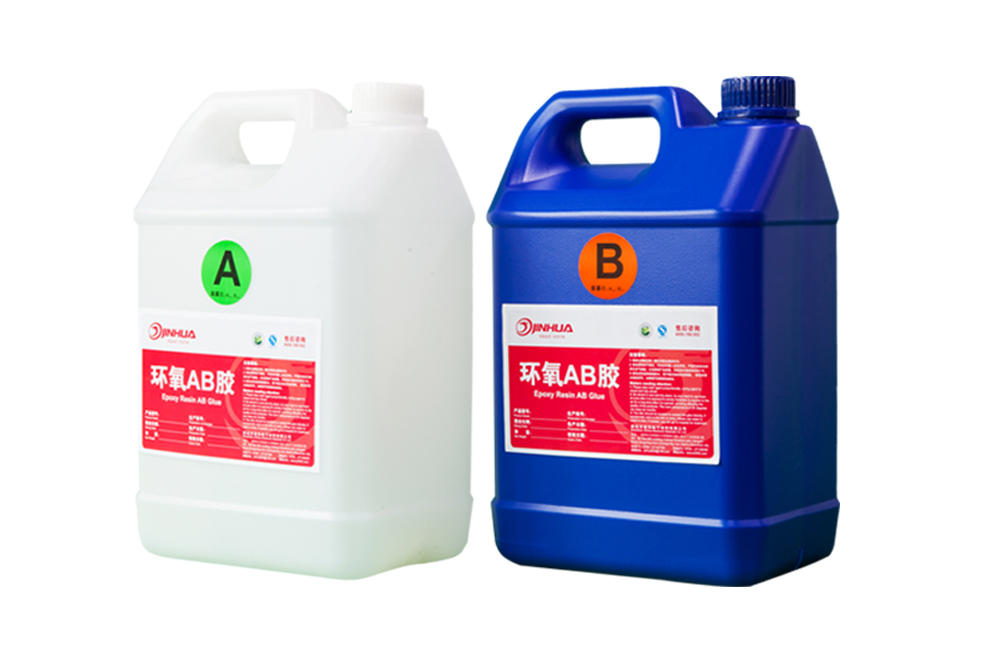
For outdoor, flexible or high-contact products after sample testing
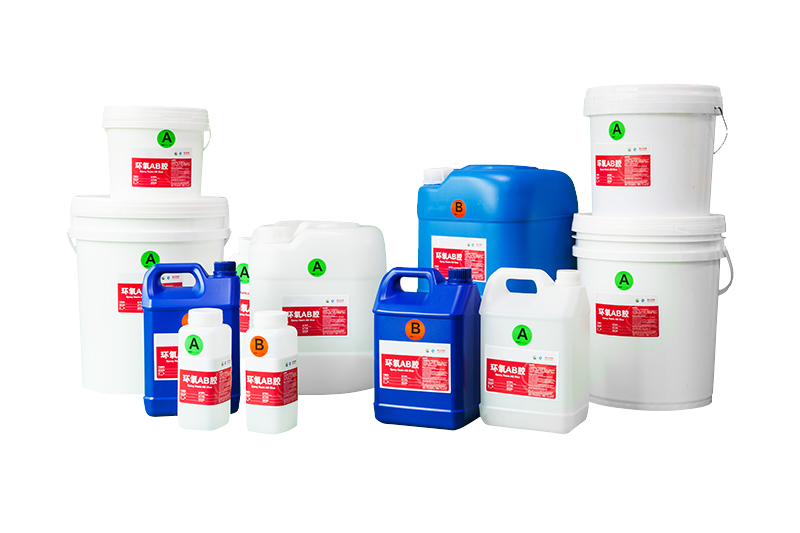
For clear indoor labels and rigid products after compatibility testing
Resin selection should start from product use, not only from price or hardness.
A practical first sample for many rigid indoor decals, labels and nameplates, provided the final ink, coating and surface pass adhesion and curing checks.
Start with a PU sample when UV, moisture, flexibility or repeated handling matters; confirm it with the final printed construction and exposure conditions.
Curvature alone does not decide the resin. Test how the complete product bends, how the surface is coated and whether the cured dome remains bonded at the edges.
Check the substrate, ink or coating, A/B ratio, moisture, degassing, resin temperature and cure conditions together.
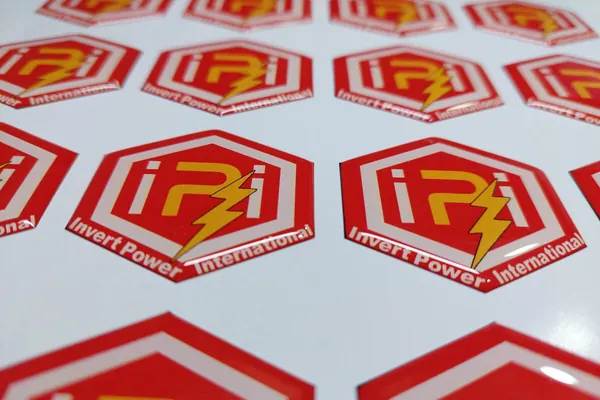
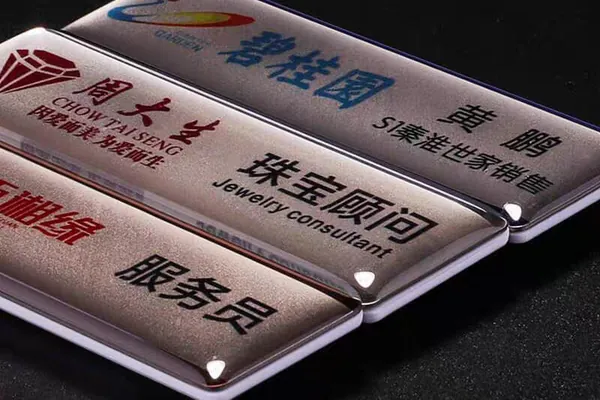
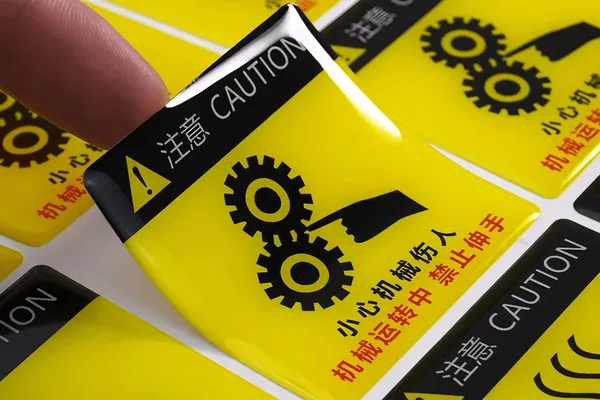
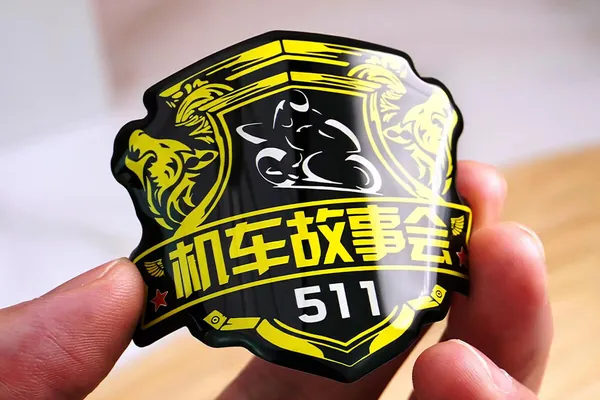
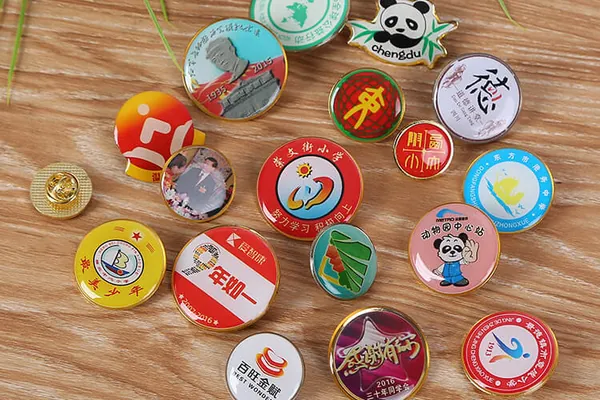
Doming resin is a clear two-component resin applied over printed labels, decals, badges or nameplates to create a raised 3D surface. The resin improves gloss, protects printed graphics and gives the product a thicker, premium appearance.
These are concrete resin products for domed sticker and label production. The final choice should still be validated with samples.
A two-component polyurethane resin to test for flexible, environmentally exposed or high-contact domed products where impact, bending or UV conditions matter.
A soft epoxy doming resin for clear, glossy labels, decals and nameplates, primarily evaluated for rigid indoor or limited-exposure applications.
Use this table to choose which resin family to test first. Final output depends on the actual formulation, substrate, print system, mixing, moisture control, dome geometry and cure conditions.
| Decision Factor | Epoxy Doming Resin | Polyurethane Doming Resin |
|---|---|---|
| Practical First Test | Rigid indoor decals, labels and nameplates with limited environmental exposure | Flexible, high-contact or environmentally exposed products where bending, impact, UV or moisture matters |
| Flexibility / Hardness | Depends on the formulation; the 308AB-3S1 option is a soft epoxy, not a rule for every epoxy | Often selected when more flexibility or impact tolerance is required, subject to formulation and sample testing |
| Outdoor / UV Decision | Do not assume outdoor stability; test discoloration, adhesion and hardness under the expected exposure | Often the first family to test for outdoor use, but the complete product still needs UV, heat, moisture and wash validation |
| Process Sensitivity | Confirm A/B ratio, mixing, bubbles, viscosity, dome height and cure on the final printed surface | Moisture, bubbles, mixing and cure control can be more demanding; validate usable output on real samples |
| Typical Failure Risk | Discoloration outdoors, unsuitable hardness, cracking under flex or poor adhesion | Bubbles, moisture-related defects, incomplete cure or unsuitable surface behavior |
| Reference Cure on This Page | 308AB-3S1: initial cure about 10–12 h; final cure about 18 h at room temperature | 618AB-18: about 24 h at 25°C, or about 2–4 h at 60–80°C |
| Final Decision Method | Compare the exact resin products on the final substrate, ink or coating, edge design, target dome height and real use environment. Do not choose from the family name alone. | |
Use the datasheet to prepare a first test, then confirm the resin on the actual printed product before fixing machine parameters or production controls.
Share material, print/coating, size, edge design, dome height target and current resin issues.
Check surface adhesion, edge control, bubble behavior, viscosity and curing on real samples.
Compare epoxy and polyurethane based on clarity, flexibility, UV exposure, curing stability, acceptable reject rate and final appearance.
Confirm A/B ratio, degassing, resin temperature, nozzle and hose conditions, dispensing volume, dome height and cure method. Choose the positioning system separately, based on layout repeatability, placement variation and changeover work.
Use these symptoms as a first diagnostic. A resin change helps only when the root cause is the formulation rather than mixing, moisture, surface preparation, dispensing or curing.
Bubbles usually come from mixing, moisture, viscosity or trapped air in the hose.
Solution:
First check A/B ratio, mixing method, moisture, hose air and degassing; then compare viscosity or resin formulation if bubbles remain.
Some products look clear at first but yellow after UV exposure.
Solution:
Test a suitable PU formulation and the complete printed product under the expected UV, heat and moisture conditions; do not infer service life from initial clarity.
Ink, coating, dust or surface oil can cause resin peeling or cloudy edges.
Solution:
First clean and document the exact substrate, ink, coating or laminate, then run adhesion and cure checks before changing machine settings.
Wrong viscosity or dome height can make resin run past the product edge.
Solution:
First check viscosity, dispensed volume, target dome height, edge distance and path offset on the real product.
Temperature, humidity and mixing ratio can create soft spots or tacky surfaces.
Solution:
First verify A/B ratio, resin condition, temperature, humidity and cure schedule. Add tank or hose heating only when the formulation and test results require it.
The resin chemistry does not change because motion becomes automatic. What changes is how consistently products are loaded, positioned, dispensed and moved into curing.
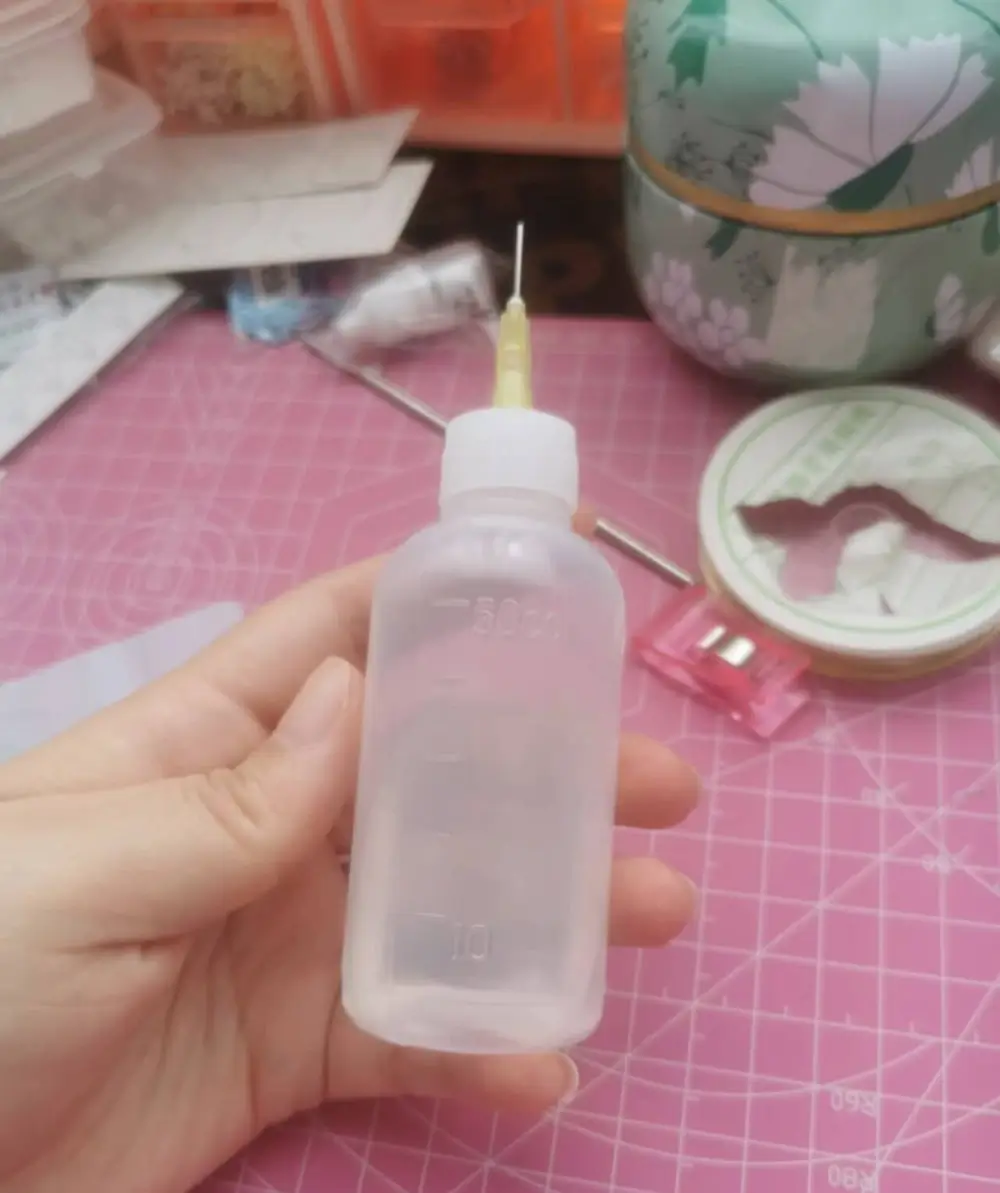
For syringe samples, prepare and mix A/B according to the selected resin's instructions. PJ180 instead meters and mixes resin from separate A and B supply systems. Validate adhesion, bubbles, edge control and cure on the sample.
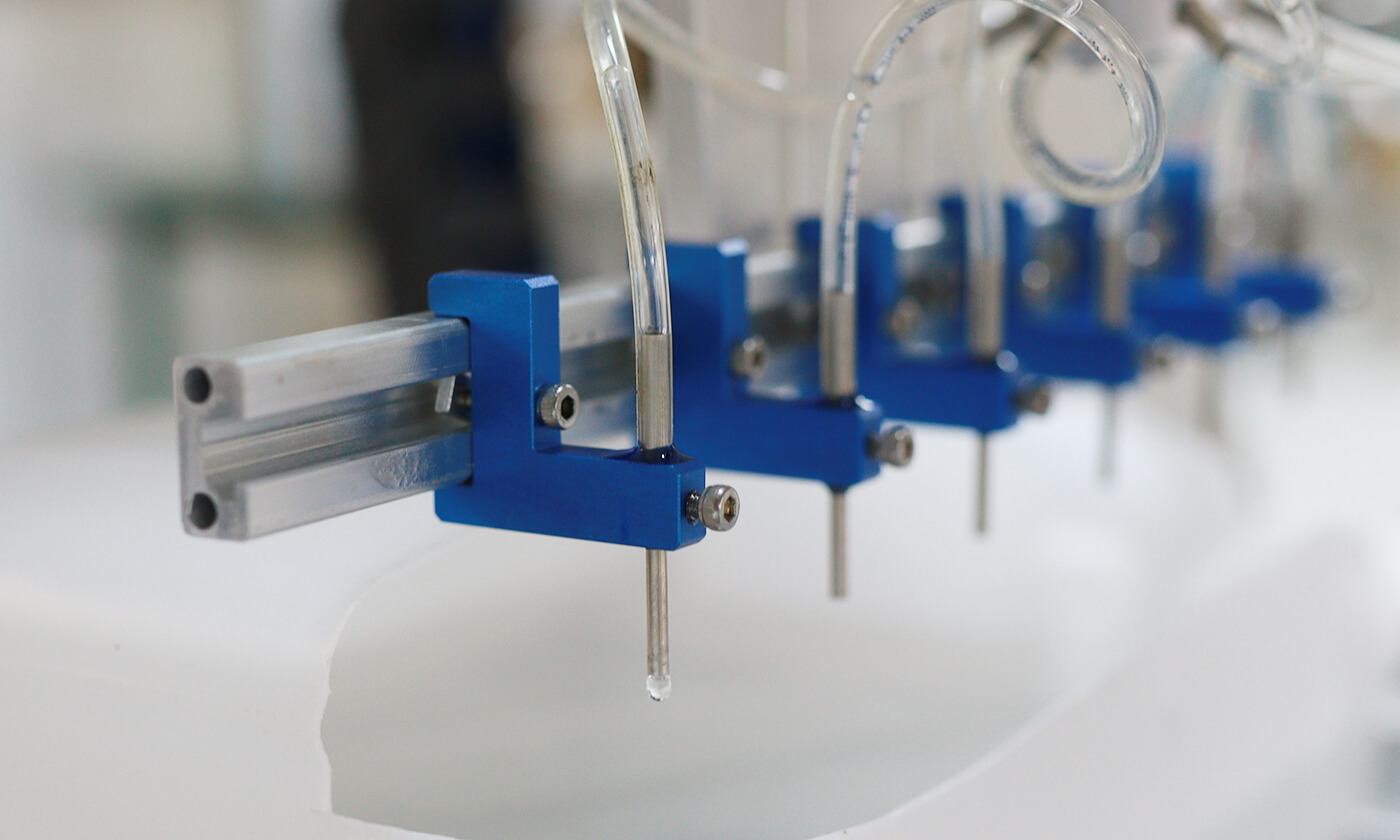
Load and condition the selected resin, purge the fluid path, set volume and nozzle height, then validate a sample sheet before repeating the saved path. Positioning automation does not replace resin-process control.
PJ180, 3-axis and CCD configurations use the same resin metering and mixing principle. Choose product movement by layout repeatability, placement variation and changeover work; resin validation remains separate.
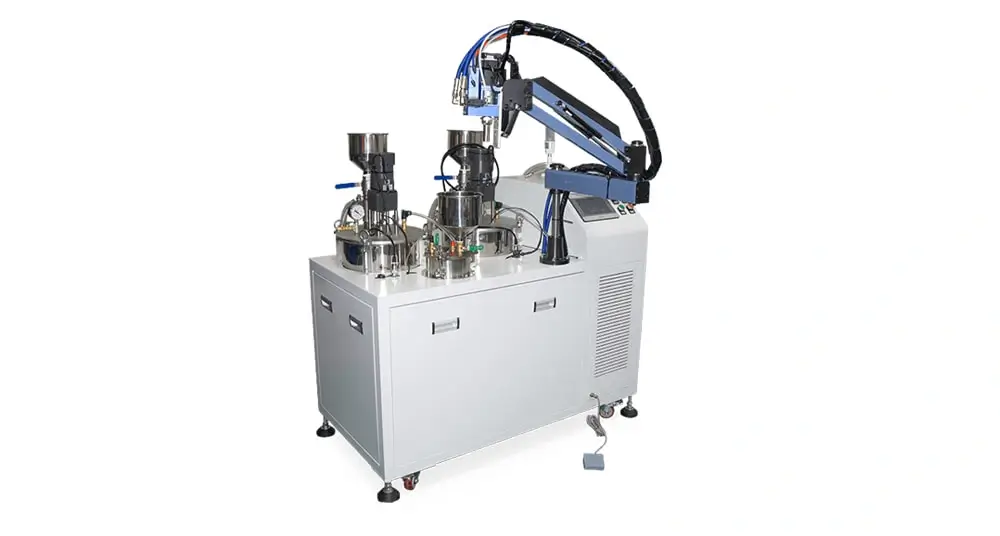
PJ180 suits sample validation and changing low-volume work. The operator controls product movement before automation is justified.
View machine details →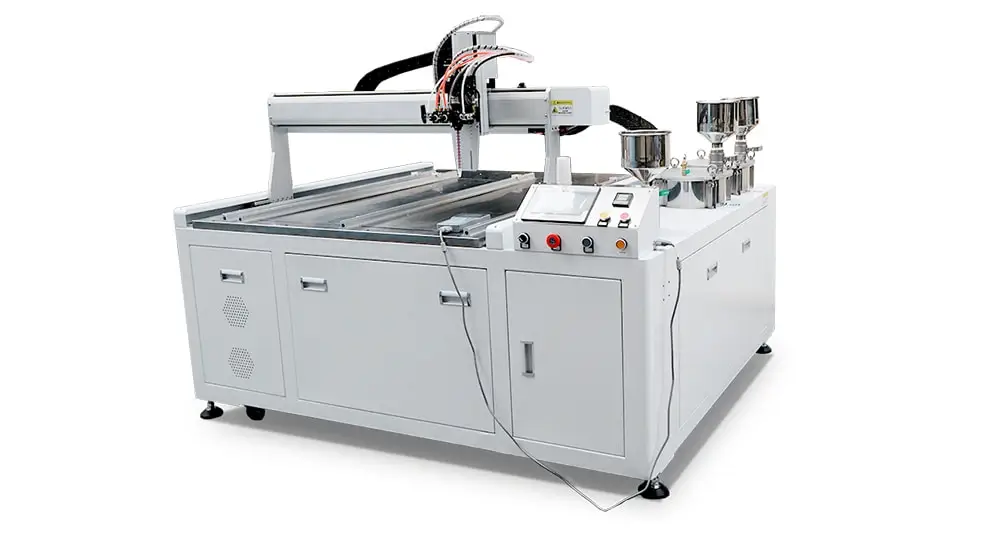
A desktop 3-axis platform or DJ771 repeats a programmed path on stable sheets; choose desktop or floor-standing by size and output target.
View machine details →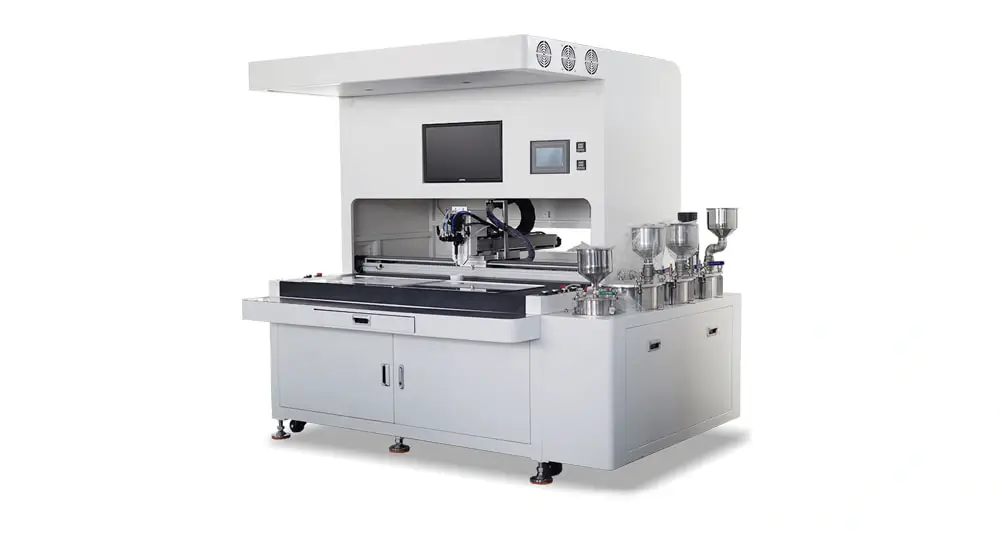
SJ4060 uses camera recognition to correct location when print shift, free placement or mixed positions remain variable; on-screen path editing helps with frequent irregular-design changeovers.
View machine details →A good resin recommendation needs sample details, not just a product name. This helps Robota recommend resin, machine and process parameters together.
Submit Product DetailsStart from the product you want to produce, then compare resin and machine setup for that application.

These answers focus on resin selection and production setup before purchase.
Neither family is always better. Start with epoxy for many rigid indoor products and test a suitable polyurethane formulation when flexibility, impact, UV, moisture or repeated handling matters. The final choice must be confirmed on the exact substrate, ink or coating, edge design and cure conditions.
It depends on the exact formulation and exposure. Do not judge outdoor life from initial clarity. Test a suitable resin formulation with the final printed product under the expected UV, heat and moisture conditions, and use aging results to approve the process.
Bubbles can come from mixing, moisture, viscosity, trapped air in the hose, fast dispensing or poor degassing. The solution may include vacuum degassing, tank or hose heating, lower speed or different resin viscosity.
Sometimes, but the same resin may behave differently on different materials, inks and coatings. Test each important product family before committing to one resin for all applications.
Not every process needs it. Evaluate vacuum degassing when a documented procedure and sample results show that entrained air is contributing to bubbles. Confirm the permitted material, vacuum level and treatment time with the resin supplier; high viscosity or strict appearance requirements alone do not define the procedure.