Samples / Low Volume
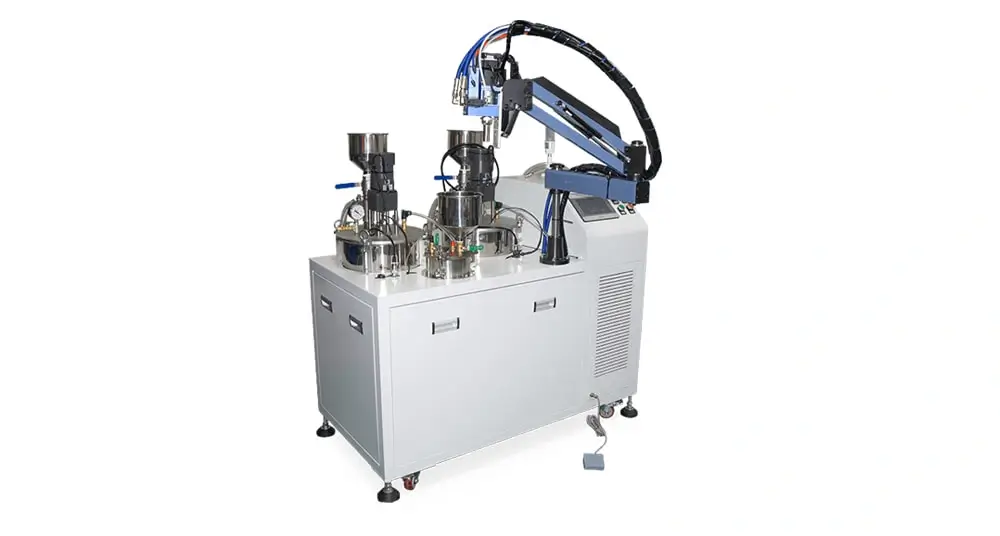
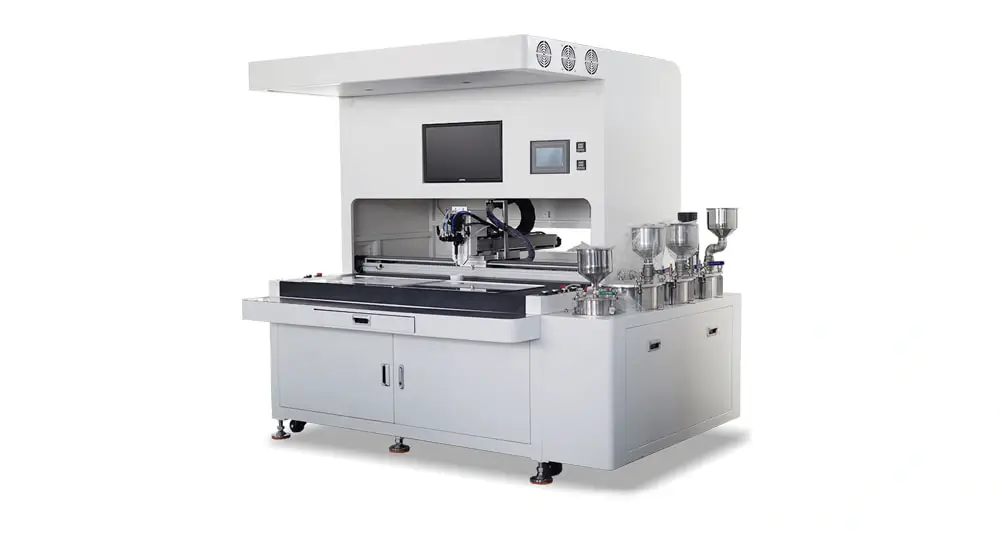
Semi-Auto Doming Machine
Best for: Sample testing, startups, small batches, simple flat decals, and lower-budget production.
- Fast setup
- Lower initial cost
- Manual loading
Choose the doming setup by decal layout first: simple flat samples can start semi-auto, repeat sheets fit 3-axis, while mixed outlines, small gaps or outdoor decals may need CCD vision and PU testing.


| Requirement | Options / Range | Notes |
|---|---|---|
Decal Material | PVC, Polycarbonate (PC), PET, Aluminum, ABS | Surface should be clean, flat, and free from dust or oil. |
Product Shape | Flat decals, slightly curved parts, irregular outlines, or mixed sheet layouts | Irregular outlines, mixed layouts, or curved/premium parts may require CCD vision positioning or custom fixtures. |
Production Volume | Low, medium, or high-volume production | Production volume affects the recommended machine configuration and automation level. |
Resin Type | Epoxy resin or polyurethane resin | Select the resin according to indoor, outdoor, UV resistance, and flexibility requirements. |
Dome Height | 0.5 mm – 6 mm | Typical dome height is adjustable based on decal size, edge design, and resin viscosity. |
Use Environment | Indoor or outdoor use | Outdoor decals normally require UV-resistant polyurethane resin and suitable printed substrates. |
Best for: Sample testing, startups, small batches, simple flat decals, and lower-budget production.
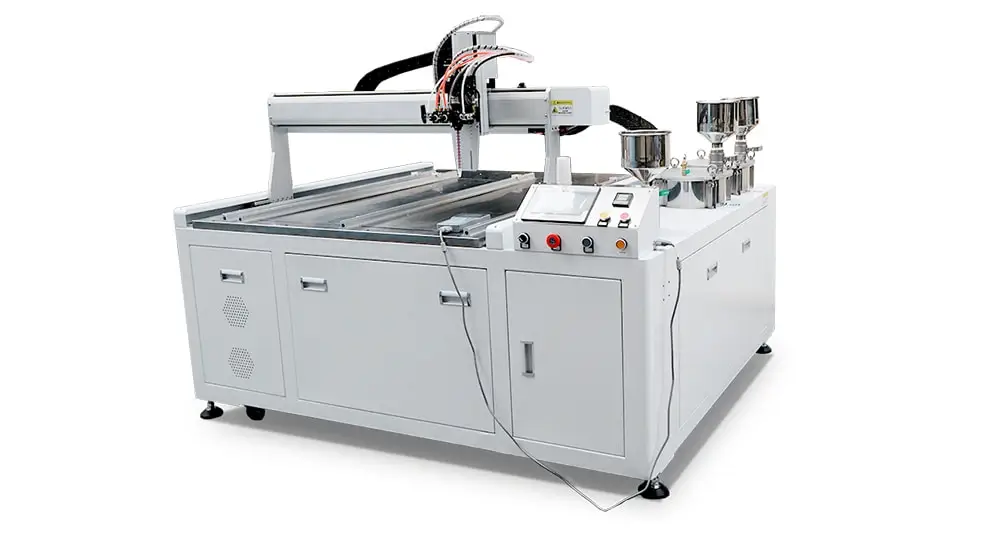
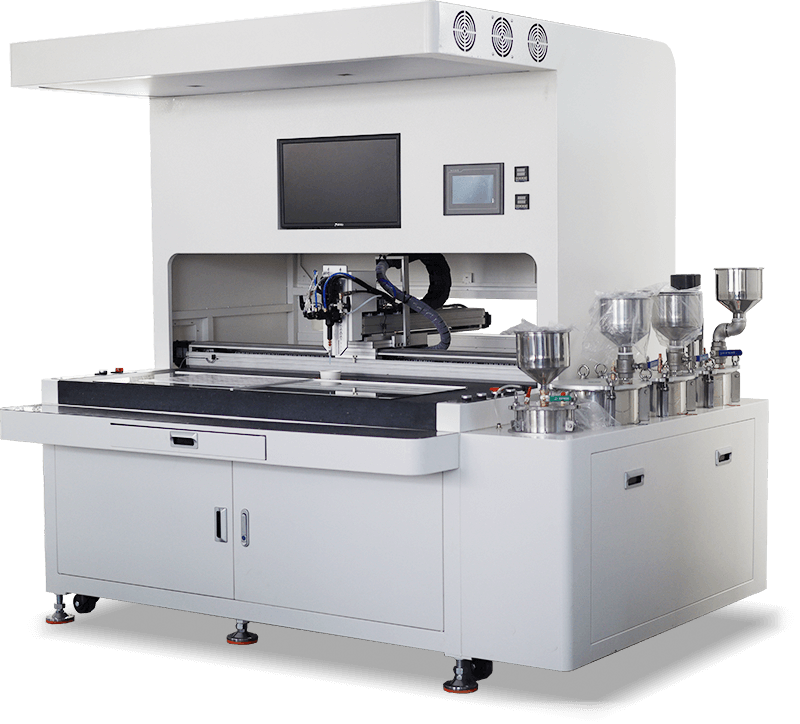
Best for: Regular sheet layouts, repeat orders, stable decal sizes, and medium-to-high volume production.
Best for: mixed outlines, variable placement, small gaps, curved or premium decals, and high-precision positioning.
| Application / Layout | Best Fit / Trigger | Recommended Machine | Recommended Resin | Key Benefit |
|---|---|---|---|---|
| Simple Flat Decals | Samples, small batches, simple shapes | Semi-Auto Doming Machine | Epoxy or PU based on use | Low cost, easy setup, flexible start |
| Regular Sheet Decals | Neat layouts, repeated decal sizes, stable orders | DJ771 3-Axis Automatic Doming Machine | Epoxy or polyurethane resin | Stable output without vision positioning |
| Mixed Outlines / Small Gaps | Variable placement, premium decals, curved or irregular layouts | SJ4060 CCD Vision-Guided Doming Machine | PU or epoxy based on use | Camera alignment for fewer positioning defects |
Provide your decal samples, size, material, and usage environment.
We test resin clarity, adhesion, and curing on your samples.
We fine-tune dispensing program to reach your target dome height.
Receive test video, report, and machine + resin recommendation.


It depends on the decal material, use environment, and required surface feel. Epoxy resin offers excellent clarity, hardness, and scratch resistance, making it suitable for indoor rigid decals with a glossy finish. Polyurethane resin provides better flexibility, impact resistance, and UV resistance, making it a better choice for outdoor use, curved parts, or products that need more flexibility. We offer free sample testing to help you determine the best resin for your specific decals.
Air bubbles are one of the most common issues in domed decal production. To reduce them: (1) Use a vacuum degassing system to remove trapped air from the resin before dispensing, (2) follow the correct mixing ratio and mixing method, (3) adjust dispensing speed and needle height, and (4) keep the substrate clean, dry, and level. For polyurethane resin or demanding outdoor decals, an optional vacuum degassing setup is strongly recommended.
Yes, domed decals can be used outdoors when produced with the right materials. For outdoor applications, we recommend using polyurethane resin due to its superior UV resistance and weather durability. Additionally, you should use UV-resistant substrates and consider the operating temperature range. Our sample testing service can verify outdoor durability for your specific application.
The right machine depends on the decal layout, production volume, repeatability, required positioning accuracy, and budget. For samples or low-volume simple flat decals, the Semi-Auto Doming Machine is a flexible starting point. For regular sheet layouts with repeat orders, the DJ771 3-Axis Automatic Doming Machine usually offers the best balance of speed, stability, and cost. For irregular outlines, mixed layouts, curved/premium decals, or high-precision positioning, the SJ4060 CCD Vision-Guided Doming Machine is the safer choice. The best way to confirm the setup is to test your actual decal samples before purchase.
Absolutely! We encourage all customers to take advantage of our free sample testing program. Simply send us your decal samples along with details about your size, material, and usage environment. We will test resin compatibility, adjust dome height, and provide you with a test video, detailed report, and a tailored machine + resin recommendation. There is no obligation to purchase after testing.