
Quick Answer
To prepare printed labels before resin doming, qualify the complete label construction—face stock, ink, clear coat or laminate, pressure-sensitive adhesive, liner, and die-cut geometry—with the exact resin and cure process you plan to use. The resin contacts the uppermost printed or coated surface, not the base material named on a purchase order, so a statement such as “PET label” is not enough to predict wetting, adhesion, color stability, or cure.
Before dispensing, confirm that the print and any coating have completed the supplier-defined drying or curing process, inspect the sheets for contamination, curl, die-cut debris, and registration shift, and use only a cleaning method already shown to be compatible with the top surface. Then secure the sheet on a clean, level tray and run a controlled sample test using normal production materials and settings.
The practical rule: do not prescribe one solvent, preheating temperature, surface-energy value, or drying time for every label. Freeze the real construction, document the preparation method, and release it only after the cured sample meets agreed appearance, adhesion, handling, and end-use requirements.
Key Takeaways
- The top layer controls first contact. Resin may contact ink, overprint varnish, primer, or laminate rather than the face stock named on the purchase order.
- Prepare the final construction, not blank stock. Use the production ink, coating, laminate, adhesive, liner, die cut, and normal storage history in the qualification sample.
- Use only a validated cleaning method. A stronger solvent can soften ink, haze plastic, leave residue, or affect the pressure-sensitive adhesive.
- Control flatness and sheet position. Curl, debris, tray tilt, and registration shift can change nozzle distance, edge coverage, and positioning repeatability.
- Release the preparation method through a controlled sample. Record the label lot, preparation steps, resin, cure conditions, and agreed inspection result.
What “Prepared for Doming” Actually Means
Resin doming adds a measured layer of mixed resin to a printed product and relies on controlled wetting, flow, surface tension, and cure to form a raised lens. Readers who need the full print-to-cure sequence can start with how 3D domed stickers are made. This article focuses on the label condition at the moment it enters the dispensing process.
A prepared label is not merely visibly clean. It is identifiable, stable, dry within the validated process requirement, flat enough for the selected positioning method, and supported by a sample result from the intended resin and cure schedule. This applies to promotional stickers, equipment labels, nameplates, and other domed decals.
| Construction item | What to record | Why it can change the dome |
|---|---|---|
| Face stock | Material grade, supplier, thickness, color, surface finish, and lot | Rigidity, dimensional stability, surface chemistry, and heat response can differ between materials and grades. |
| Print system | Process, ink series, colors, white layer, additives, cure or drying method, date, and lot | The resin contacts the cured ink film in uncoated areas; residual solvent, undercure, additives, or poor ink-to-stock adhesion can create failure. |
| Topcoat or laminate | Product code, finish, treatment, application date, and supplier instructions | This becomes the actual doming surface and can change wetting, haze, edge hold, and adhesion. |
| Adhesive and liner | Adhesive type, liner, release system, storage, and any heat limitation | Although the resin is on the opposite face, the backing construction can affect curl, tray holding, migration risk, and whether a proposed drying step is safe. |
| Die cut and layout | Finished size, resin boundary, corner radius, gaps, holes, waste matrix, registration tolerance, and sheet datum | Geometry and positional repeatability affect edge coverage, overflow risk, path setup, fixture design, and camera recognition. |
| Storage history | Packaging, age after printing, temperature, humidity exposure, stacking, and transport condition | Conditioning, contamination, absorbed moisture, blocking, curl, or condensation can change between a fresh sample and a production shipment. |
A Practical Pre-Doming Preparation Workflow
Freeze the construction and label the sample lot
Identify the exact face stock, ink, coating or laminate, adhesive, liner, resin, and intended cure process before testing. Mark sample sheets by lot and print date. If any component changes later, treat the change as a reason to review or repeat the relevant qualification rather than assuming that the old result still applies.
Complete the specified print and coating process
Follow the ink, varnish, laminate, and labelstock suppliers’ instructions for cure, drying, post-cure, and conditioning. A surface that feels dry can still contain retained solvent or have incomplete depth cure. Conversely, an overcured or contaminated surface can also wet differently. Use elapsed time only when the material supplier defines the starting point, environment, film build, and acceptance condition.
Inspect print, die cut, and sheet condition
Check color, surface finish, coating coverage, scratches, pinholes, die-cut debris, raised edges, liner damage, curl, registration shift, and the gap between products. Measure representative sheets from the start, middle, and end of the print or cutting run when process drift is possible. Quarantine visibly damaged or unidentified sheets instead of trying to correct them at the dispensing machine.
Control contamination with a validated method
Prevent contamination first: handle sheets by their edges or waste matrix, use clean trays and low-lint materials, cover waiting stock, and separate printing, cutting, silicone, oil, and cleaning activities where practical. Loose dust, fingerprints, cutting residue, adhesive transfer, release agents, and some anti-static or slip additives can all change wetting.
For light particles or static attraction, evaluate a clean, dry, supplier-approved low-contact method such as controlled ionization or a compatible low-lint wipe. Do not use unverified compressed air that may contain oil or water, and do not simply move dust from one area to another.
Qualify any cleaner on the actual top surface
There is no universal label-cleaning solvent. If a liquid cleaner is needed, obtain approval from the label, ink, coating, and cleaner suppliers; review the current safety data sheet; and patch-test it on the final printed construction. Check for color transfer, softening, gloss change, haze, swelling, cracking, residue, edge lift, and delayed adhesive effects. Define the wipe material, amount, direction, drying or evaporation time, and maximum delay before doming.
A primer, receptive clear, corona treatment, plasma treatment, or flame treatment is also a controlled process change—not a generic rescue step. It can improve one interface and damage another. Use it only when the relevant suppliers support the method and qualified samples prove the complete product remains acceptable.
Select and use cleaners or surface treatments under the current SDS, task-specific ventilation, personal protective equipment, fire and static-control requirements, equipment instructions, and applicable local regulations. Material compatibility testing is not a worker- or fire-safety assessment.
Condition the sheet without creating condensation or damage
If stored material is colder than the production area, keep it protected while it approaches the validated process condition so humid air does not condense on the surface. Preheating or vacuum drying should be used only when the exact substrate, ink, coating, adhesive, liner, and resin procedure permit it. Record the actual product temperature, exposure time, cooling or equilibration time, and any change in flatness or adhesion.
Secure the label on a clean, level, repeatable tray
Support the sheet so it cannot rock, bow, or move during dispensing and transfer. Define the tray datum, sheet orientation, hold-down method, Z-height reference, and maximum acceptable curl. Check the loaded tray rather than only the empty fixture. A clean label on a tilted or distorted support can still produce uneven dome height or edge overflow.
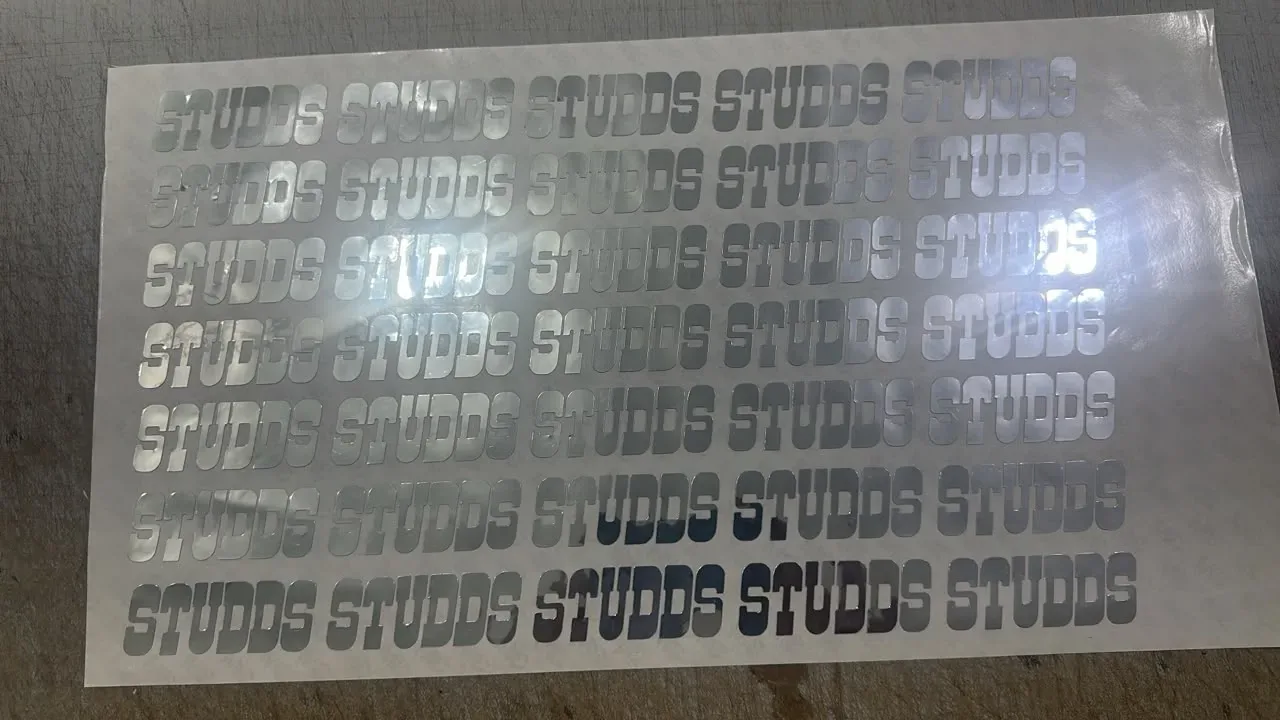
Run a controlled sample and release only measured results
Use the intended resin, pumps, mixer, needle, dispense path, dome volume, and cure conditions. Allow setup and tuning samples first; then freeze the accepted recipe and produce a documented qualification set without hidden cleaning, manual touch-up, or path changes. The doming machine sample test and acceptance checklist explains how to separate feasibility samples from machine acceptance.
Match the Cleaning Method to the Observed Condition
| Observed condition | First response | Do not assume |
|---|---|---|
| Loose dust or cutting debris | Review cutting-area cleanliness, covers, tray cleaning, handling, and a validated particle-removal method. | That any air gun is clean, dry, oil-free, safe for the product, or effective at removing static attraction. |
| Fingerprints or localized oil | Quarantine the affected sheets and qualify a cleaner on the exact ink, coating, or laminate before production use. | That IPA, acetone, or another solvent is harmless to every printed film, plastic, adhesive, or liner. |
| Static dust attraction | Check humidity only within the material process window, grounding, ionization, wipe behavior, and sources of charge generation. | That adding a chemical anti-static treatment will remain resin-compatible or residue-free. |
| Condensation or suspected moisture exposure | Protect and condition the stock, identify the exposure history, and follow the material-specific drying or rejection rule. | That vacuum degassing the resin will dry a wet label or repair a moisture reaction. |
| Widespread fisheyes or poor wetting | Compare control samples and investigate the top layer, contamination, additives, cleaner residue, resin condition, and preparation sequence. | That more resin, a different machine path, or stronger cleaning will identify the root cause. |
| Peeling after cure | Determine which interface failed: resin-to-topcoat, topcoat-to-ink, ink-to-face-stock, or another layer. | That the visible separation automatically proves a resin-to-substrate adhesion problem. |
Ink, Coating, and Laminate Compatibility
The most important compatibility question is: what surface will the liquid resin actually touch? On one label it may be cured screen ink; on another it may be a UV inkjet clear, overprint varnish, polyester laminate, or a specially formulated receptive layer. Two labels using the same base film can therefore behave differently.
- Wetting: check for continuous coverage, fisheyes, pullback, bare areas, unexpected spread, and stable edge hold.
- Appearance: check color bleed, color shift, haze, clouding, gloss change, print distortion, and trapped interface bubbles.
- Interfacial cure: compare the resin over printed and unprinted zones after the defined cure stage. Soft or tacky areas require investigation of ratio, mixing, cure conditions, contamination, and chemical compatibility.
- Layer adhesion: identify whether failure occurs at the resin surface, resin-to-coating interface, coating-to-ink interface, or ink-to-face-stock interface.
- End-use behavior: evaluate bending, handling, temperature, moisture, UV, cleaning chemicals, or outdoor exposure only when these conditions belong to the product requirement.
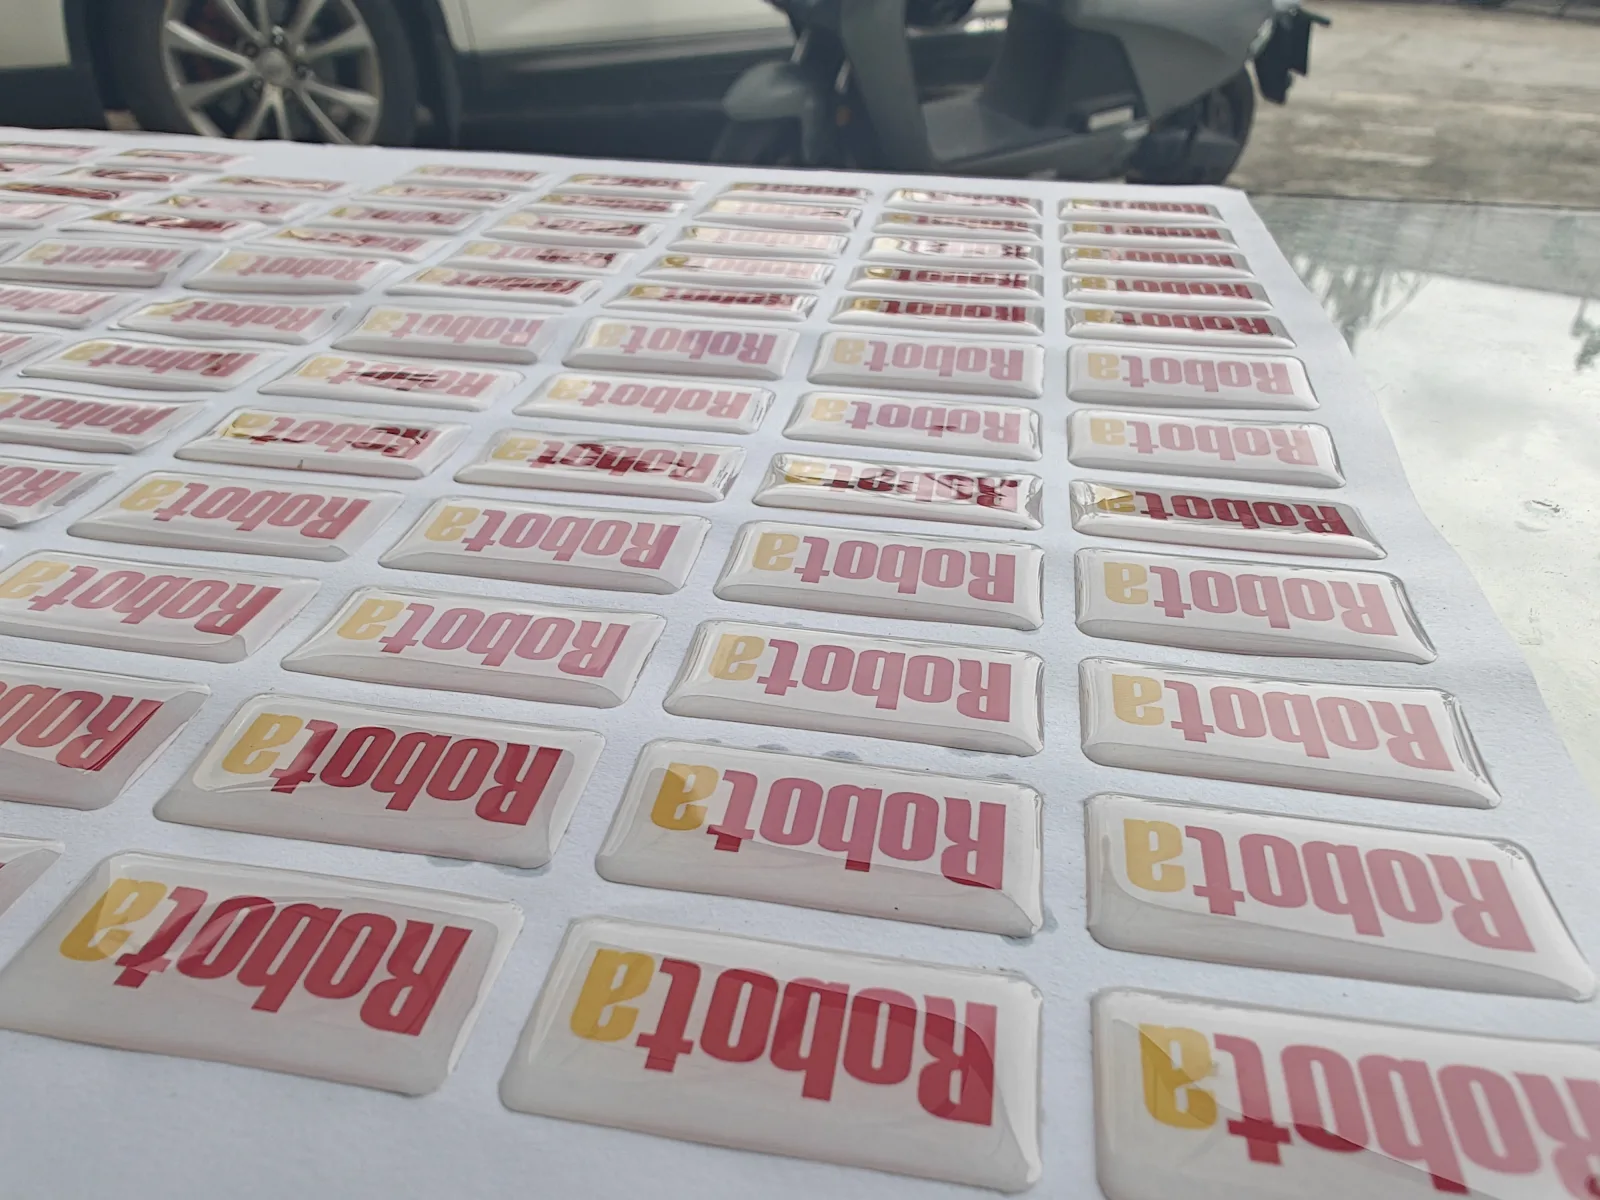
Do not rely on a universal cross-cut, peel, or pull value for every domed label. Define a test that suits the construction and customer requirement, including cure age, conditioning, sample geometry, equipment or method, failure mode, and pass/fail criterion. Retain an approved control sample and photographs so later lots can be compared consistently.
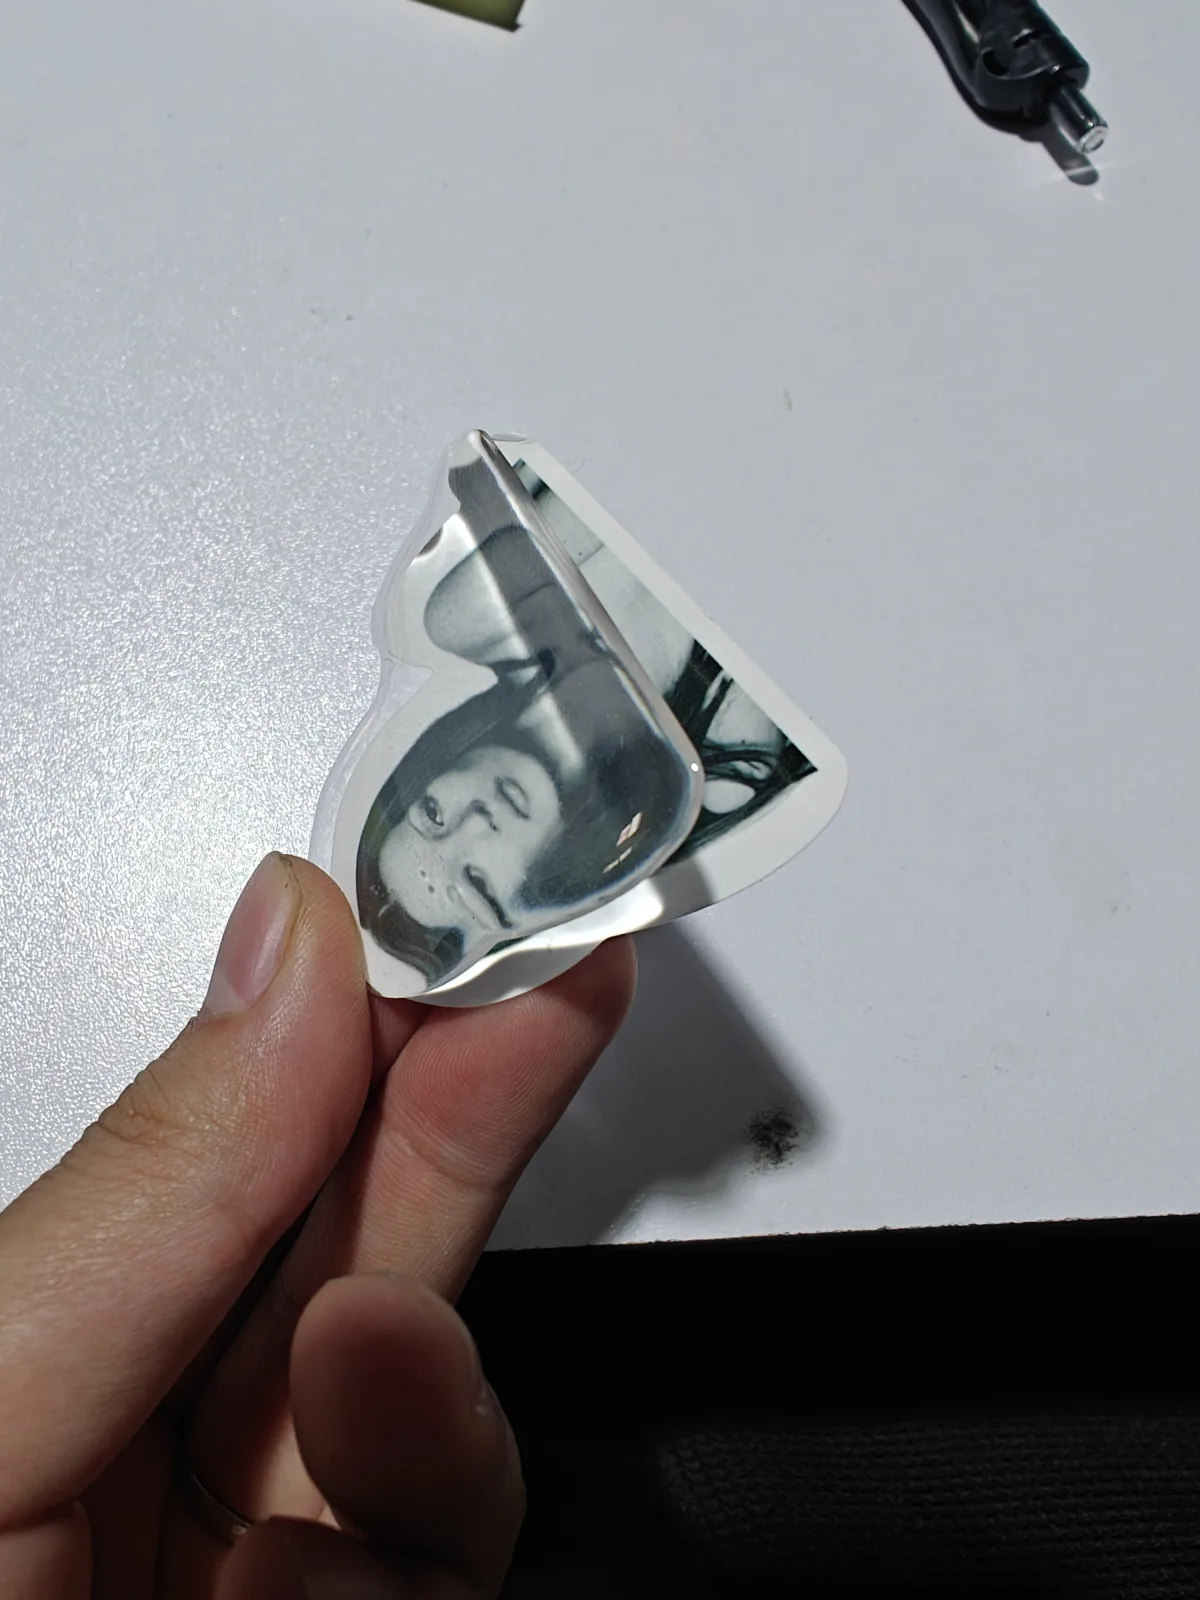
If bubbles, fisheyes, soft spots, color changes, edge overflow, or peeling already appear, use the resin doming troubleshooting guide to separate surface, material, metering, mixing, flow, and curing causes before changing hardware.
Moisture, Temperature, and Degassing Boundaries
A printed sheet should enter the sample test dry, clean, flat, and conditioned without condensation. Do not assume that preheating, room-humidity control, vacuum degassing, and heated curing solve the same problem: each control acts on a different part of the material and process.
Use the exact resin product code and current technical data sheet to define storage, material temperature, moisture protection, degassing, and cure conditions. The printed label preparation record should state only the conditions applied to the sheet; the complete environmental process window belongs in the temperature, humidity, and cure-time guide.
Neither a heater nor a vacuum chamber can correct the wrong A/B ratio, incomplete mixing, an unsuitable cleaner, or an incompatible ink or coating. Confirm the final printed construction with the actual resin before production release.
How Sheet Preparation Affects Machine Choice
Machine selection depends on the repeatability of the product position, not simply whether the outline looks complex. First determine how the sheet or tray returns to a datum, how much print-to-cut and placement variation occurs, and whether a fixture can control it. Then compare the positioning methods.
Operator-indexed positioning
Best fit: samples, changing work, small batches, or regular rows an operator can move consistently.
Preparation dependency: stable row spacing, flat trays, visible boundaries, and a repeatable operator method.
Saved paths at fixed coordinates
Best fit: regular sheets or products that return accurately to a sheet stop or fixture.
Preparation dependency: controlled datum, print-to-cut registration, fixture repeatability, and stable Z-height.
Vision-guided position correction
Best fit: mixed layouts or position variation that fixed coordinates cannot control economically.
Preparation dependency: a recognizable edge, mark, or contrast feature plus a pre-created dispensing path.
The DJ771 3-axis automatic resin doming machine can execute curved or otherwise complex programmed paths when the next product returns to the same coordinates. A fixture may therefore be more cost-effective than vision for rigid labels, badges, or nameplates with repeatable placement.
The SJ4060 CCD vision doming machine becomes more valuable when printed position, rotation, or placement changes and the camera can recognize a stable feature. Vision corrects position; it does not automatically create a reliable resin path, repair poor printing, flatten a curled sheet, or solve surface incompatibility.
PJ180, DJ771, and SJ4060 can all be evaluated with a compatible multi-head dispensing kit. On a simple, regularly arranged sheet, the same head count and comparable metering configuration may produce similar active dispensing output; the main difference is how much tray movement, exact placement, and intervention the operator must provide. SJ4060’s strongest value appears when vision reduces positioning work and alignment-related rejects on complex or variable layouts, not when a camera is expected to make every regular sheet dramatically faster.
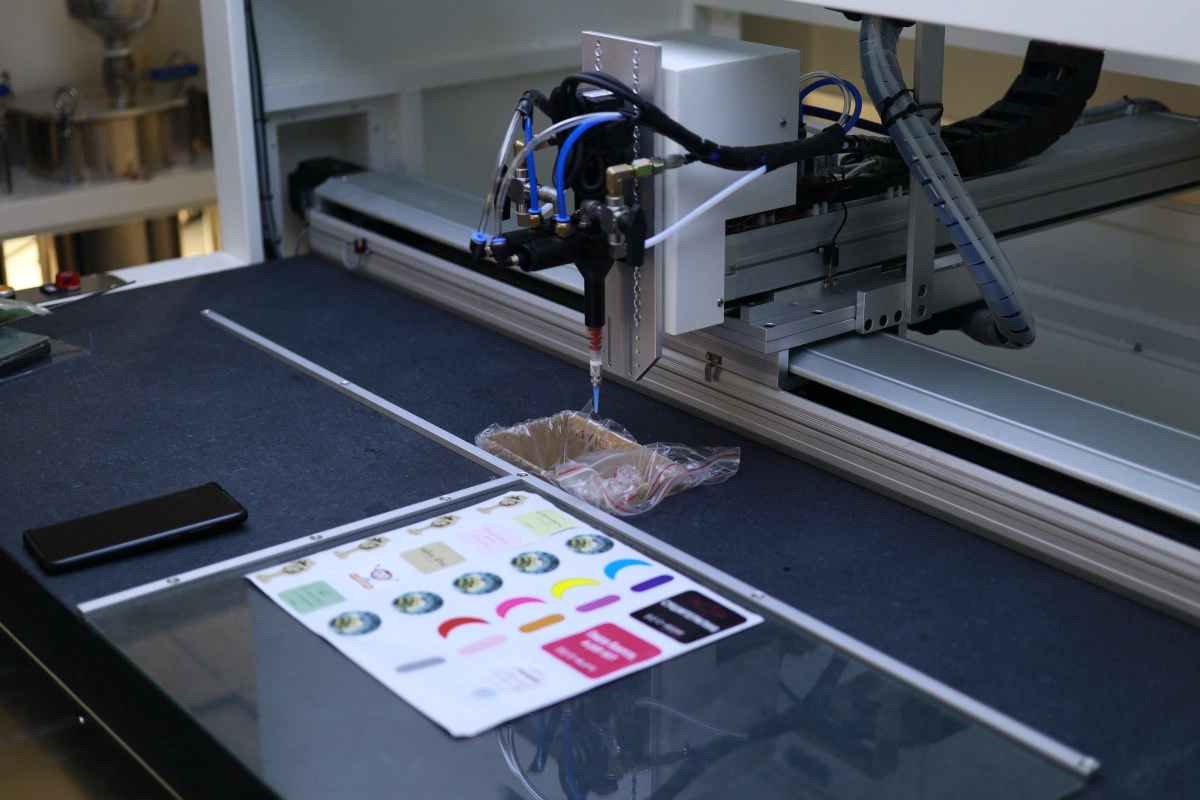
Multi-head dispensing is a separate decision from positioning. It is useful only when several products share compatible spacing and paths, and when every outlet can meet the required delivery and placement accuracy. Very small labels or narrow gaps may require a single head and finer-volume control even on an automatic machine. Confirm this with the real label size, resin volume, needle spacing, pump configuration, and accepted quality rather than choosing head count from machine model alone.
Define the Sample Acceptance Plan Before Testing
The preparation test should prove that the final printed construction reaches the dispensing step in a controlled condition. Before sending samples, record:
- the label construction, print lot, print age, coating or laminate, liner, die cut, and preparation method;
- the resin code, tray or fixture reference, target dome, and normal cure conditions;
- the required checks for wetting, edge control, appearance, adhesion, positioning, and relevant end-use exposure.
Agree the method and pass/fail boundary before the formal run. A good fresh photograph does not prove long-term compatibility or production readiness. Use the sample test and acceptance checklist for the full feasibility, FAT, SAT, evidence, and retest process.
For domed industrial labels, include the customer drawing or test method for cleaning, oils, temperature cycles, abrasion, UV, or repeated handling rather than treating “industrial” as one universal requirement.
Information to Send With Printed Label Samples
- Application: product type, indoor or outdoor use, expected handling, exposure, and required service tests.
- Construction: face stock, ink series and process, coating or laminate, adhesive, liner, thickness, and suppliers.
- Production history: print and cutting dates, cure or drying method, storage, packaging, and any cleaning already performed.
- Geometry: finished dimensions, narrow sections, holes, cutouts, corner radius, edge allowance, gap, and target dome height.
- Layout: products per sheet or tray, datum, row and column spacing, mixed orientations, print-to-cut variation, and photographs.
- Demand: order mix, expected volume per shift, changeover frequency, accepted yield, and operator assumptions.
- Candidate resin: exact product code or desired properties, current TDS/SDS, mix-ratio basis, cure method, and any known issue.
- Acceptance: appearance master, adhesion method, cure stage, dimensional limits, end-use tests, sampling plan, and evidence required.
- Machine decision: current positioning method, fixture possibility, camera-recognition risk, single- or multi-head goal, and working-area requirement.
Common Preparation Mistakes
- Testing blank film instead of the finished print. This removes the ink, coating, laminate, and process history from the very test meant to qualify them.
- Calling every shiny top layer “laminate.” Identify the actual product because varnish, ink clear, primer, and film laminate can behave differently.
- Using a solvent because it worked on another job. Cleaner compatibility belongs to the current top surface and complete label construction.
- Confusing dry-to-touch with fully processed. Use supplier instructions and a resin compatibility test rather than touch alone.
- Trying to fix moisture with degassing. Protect materials and labels from water; use degassing only for the gas-removal step it has been validated to perform.
- Choosing CCD because the outline is irregular. A complex outline can still use fixed coordinates if product placement repeats accurately.
- Ignoring sheet curl and tray tilt. Path coordinates can be correct while nozzle distance and resin leveling vary across the sheet.
- Changing several variables at once. Cleaner, surface treatment, resin, volume, and cure changes made together prevent a clear root-cause conclusion.
- Approving the sample without a frozen recipe. Record preparation, configuration, path, cure, manual interventions, and inspection criteria before using the result for purchasing.
FAQ
What is the most important label detail to confirm before resin doming?
Identify the actual top surface the resin will contact and qualify the complete construction. A label described only as PET, PVC, polyester, paper, or polycarbonate does not identify the ink, coating, laminate, or surface treatment that controls the interface.
Can I clean every printed label with isopropyl alcohol?
No universal solvent should be assumed safe. IPA may be suitable for some qualified surfaces, but it can affect certain inks, coatings, plastics, adhesives, or finishes and can also leave a problem if the method is uncontrolled. Obtain supplier guidance, review the SDS, and patch-test the exact construction before production.
Does a UV-cured print always work with doming resin?
No. UV curing describes a process, not guaranteed compatibility with every resin. Ink series, film thickness, lamp condition, depth cure, additives, white layers, overprints, and the substrate can change the result. Test the actual print after the ink supplier’s defined cure and conditioning process.
Should labels be preheated before doming?
Only when the exact resin and label construction support a defined purpose and schedule. Heat can change ink, laminate, adhesive, liner, curl, product dimensions, resin flow, or condensation behavior. Validate product temperature, time, cooling, flatness, appearance, and adhesion instead of applying a generic oven setting.
Will vacuum degassing remove moisture from printed labels?
Do not treat it as a universal label-drying method. Degassing can reduce entrained or dissolved gas under a validated resin procedure, but it does not replace moisture-protected storage, correct material handling, or a supplier-approved substrate-conditioning method.
Do irregularly shaped labels require a CCD vision machine?
Not necessarily. A 3-axis machine can follow a complex saved path when every label returns to repeatable coordinates. CCD vision is more valuable when actual position or rotation varies, a fixture cannot control it economically, and the camera can recognize a stable feature on the real artwork.
What should pass before a printed label is released for production?
At minimum, verify identity and preparation, wetting and edge control, appearance, cure state, the required adhesion method, positioning repeatability, and any end-use performance that matters to the customer. Record the resin and machine configuration and retain approved controls.
Can a better doming machine solve poor resin adhesion?
No. The machine can improve metering, motion, positioning, and repeatability, but it cannot make an incompatible or contaminated surface chemically suitable. Diagnose the failed interface and qualify the material system separately from the automation level.
Conclusion
Reliable resin doming starts with a controlled printed construction, not with a universal cleaning recipe or the most automated machine. Identify the surface the resin will touch, complete the documented print and coating process, prevent contamination, condition the sheet safely, control flatness and position, and prove the result with actual production materials.
Use label layout to choose operator indexing, fixed-coordinate automation, or vision correction only after the surface and product are ready. When requesting a recommendation, send traceable printed samples plus the intended use, resin, cure method, layout, output target, and acceptance criteria. That evidence allows the supplier to recommend a preparation method, resin candidate, pump and dispensing configuration, fixture or vision approach, and qualification plan without hiding risk behind a generic demonstration.