
Samples / Changing Badges
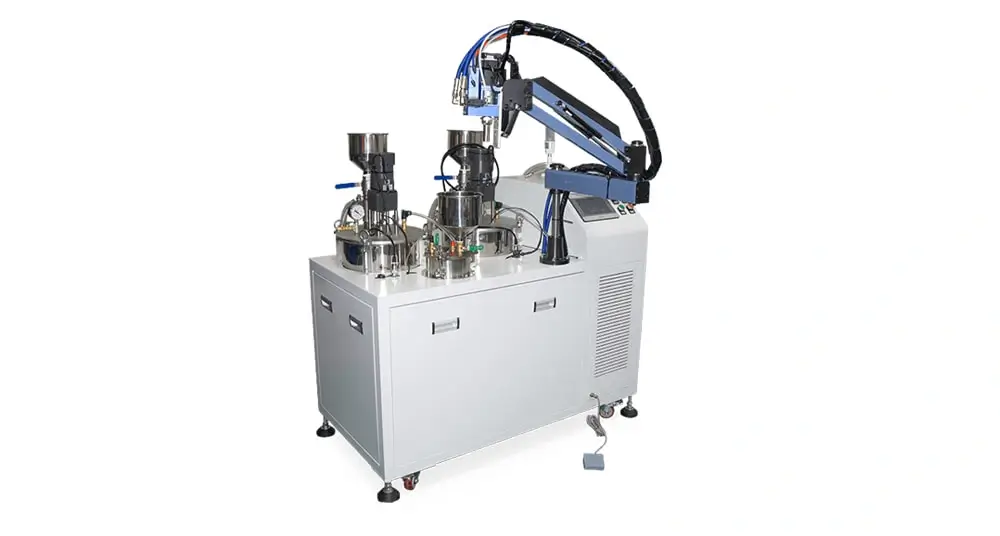
Semi-Auto Doming Machine
Manual path control for samples, small batches and changing badge designs.
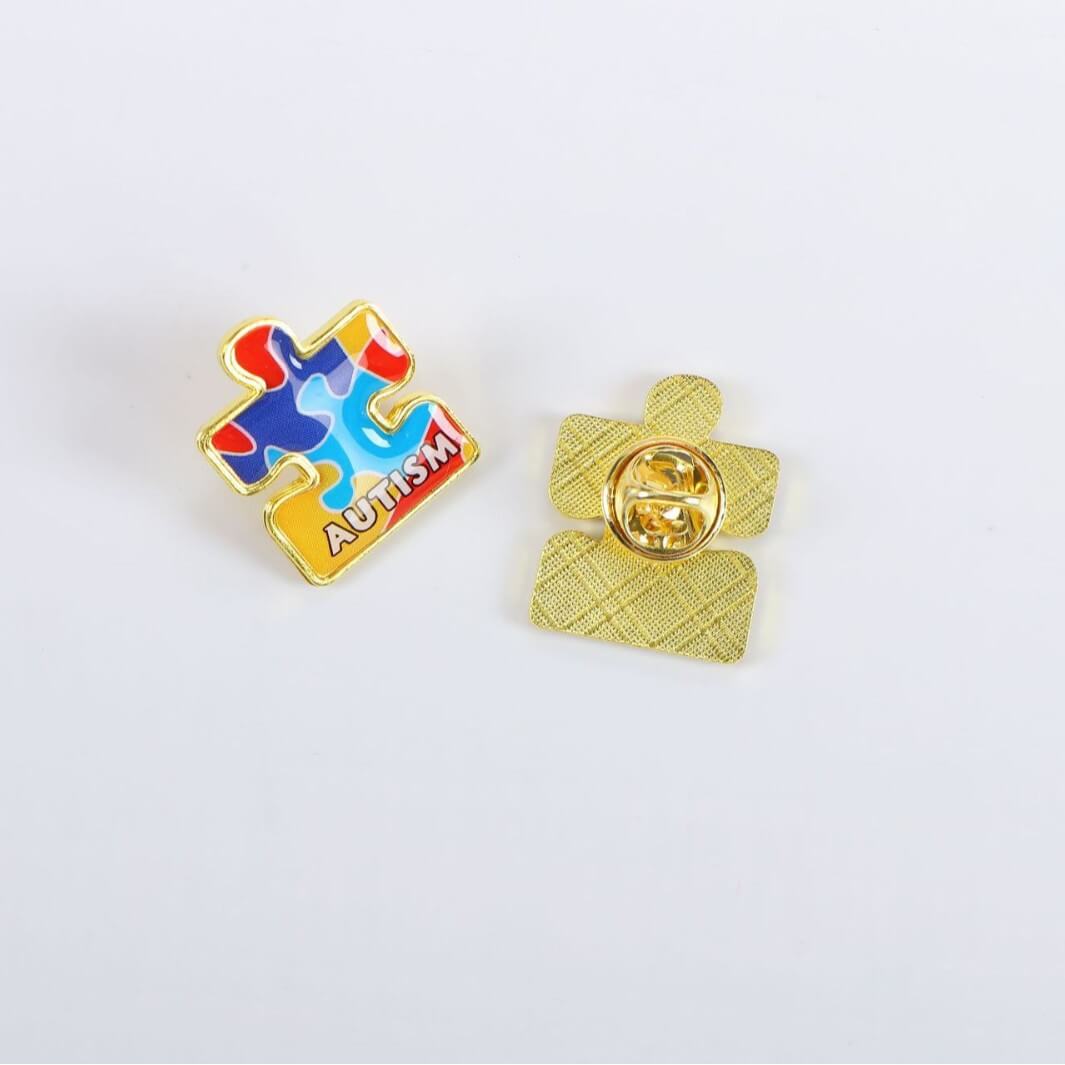
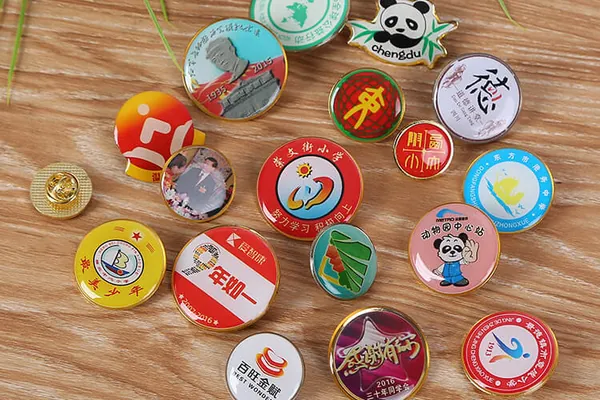
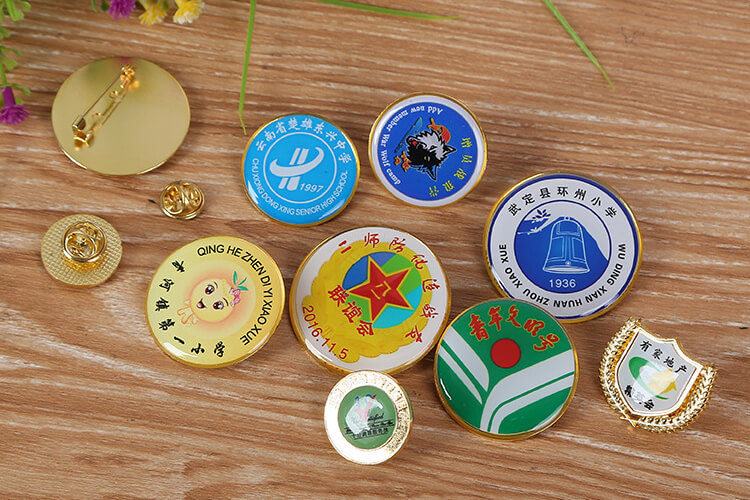
Produce glossy resin domed badges, lapel pins, event badges and decorative insignia. Match the machine by badge material, shape, fixture method, order volume and target dome height before purchase.

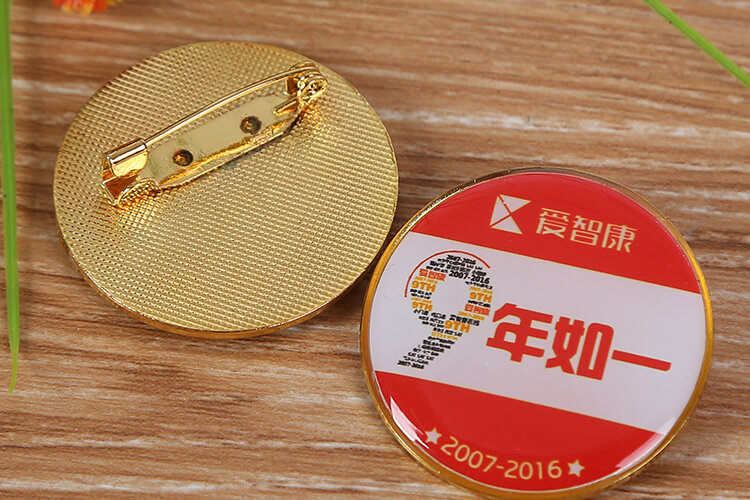
| Requirement | Options / Range | Notes |
|---|---|---|
|
Badge Material
|
Metal, acrylic, ABS, PVC, PET, printed film or coated badge blanks | Surface should be clean, dry and tested for resin adhesion before production. |
|
Surface Finish
|
Printed, coated, enamel-look, plated, laminated or textured | Ink, coating, plating and rim design may affect adhesion and final appearance. |
|
Shape / Layout
|
Round badges, shields, strips, holes, pin backs, mixed shapes or regular sheets | Confirm the rim, pin backs and whether a fixture or sheet can hold each badge repeatably; irregular outlines can use a saved path. |
|
Production Volume
|
Samples, small batches, repeat orders or high-volume badge sheets | For output planning, stable fixtures and repeatable loading support saved paths as demand grows; loose individual placement can reduce effective output. |
|
Resin Type
|
Epoxy resin or polyurethane resin | Choose by hardness, flexibility, impact resistance, UV exposure and use environment. |
|
Dome Height
|
Usually 0.8 mm – 4 mm, adjusted by badge size and rim design | Higher domes require stable edge control and the right resin viscosity. |
|
Use Environment
|
Indoor badges, events, souvenirs, apparel accessories or outdoor badges | Outdoor or high-contact badges may require polyurethane resin and sample aging checks. |
Manual path control for samples, small batches and changing badge designs.
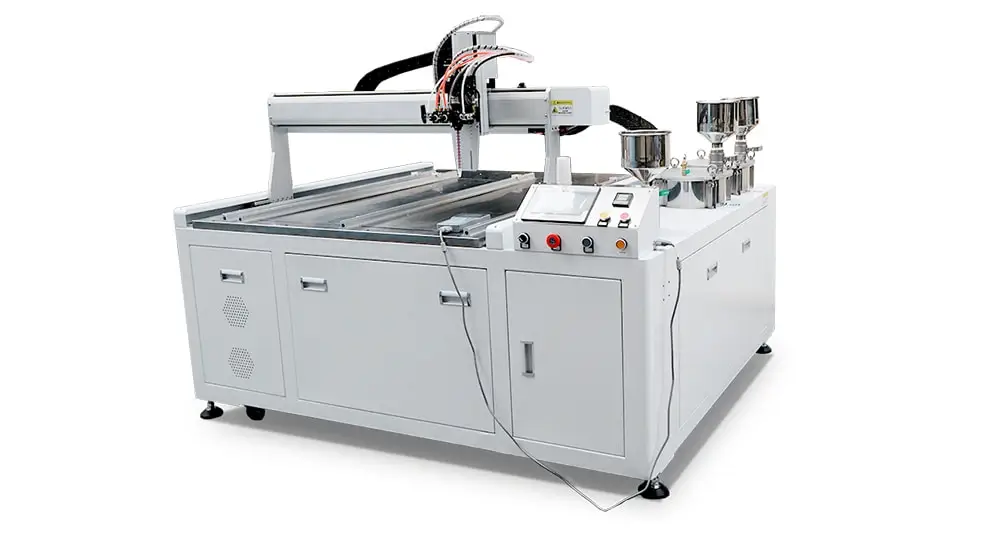
Saved paths for repeatable loading, including repeatable irregular outlines.
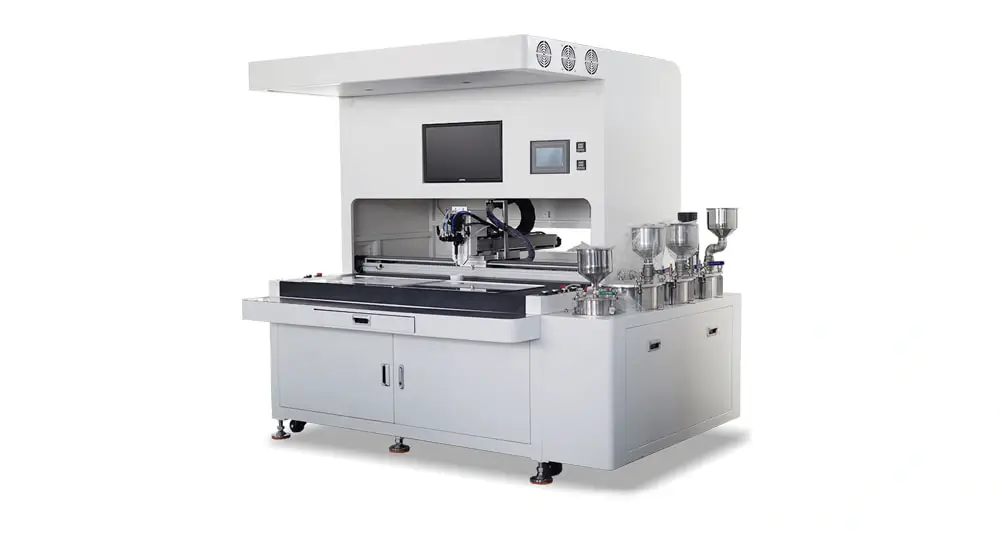
Camera correction for demonstrated placement variation; on-screen path editing supports irregular-design changeovers.
| Badge Production Situation | First Decision Trigger | Recommended Setup | Resin Starting Point | Why It Fits |
|---|---|---|---|---|
| Samples / Small Runs | Changing blanks, rims or artwork | PJ180 Semi-Auto | Epoxy or PU after material testing | Flexible setup for frequent changes |
| Stable Regular Sheets / Fixtures | Repeat positions and stable badge holding; irregular outlines can use a saved path, and repeat volume can make manual dispensing a bottleneck | Desktop 3-Axis or DJ771 by sheet size, space and output target | Epoxy or PU by handling environment | Saved paths and repeatable loading as demand grows |
| Variable Placement / Frequent Irregular Changeovers | Measured placement variation after fixture testing, or frequent irregular-design path changes | SJ4060 CCD Vision-Guided | Epoxy or PU by material and use | Camera correction addresses measured variation; on-screen path tools can simplify irregular-design changeovers |
Provide badge samples, drawings, material, rim height, pin hardware and use environment.
We test resin clarity, adhesion, curing and fixture stability on your badge samples.
We fine-tune resin volume and dispensing path for your target dome height and badge edge.
Receive test video, report, and machine + resin recommendation.

*Your details will be kept strictly confidential with us.
Epoxy is a practical starting point for many metal or plastic badges; clarity and hardness depend on the formulation. Test a suitable polyurethane formulation when flexibility, impact or outdoor exposure matters. Confirm adhesion, edge control, cure and handling performance on the finished badge.
Yes. The key is holding the badge flat during dispensing and confirming rim height, pin-back structure and adhesion. We recommend sample testing before batch production.
Common materials include metal badge blanks, acrylic, ABS, PVC, PET and printed films. Coatings, plating, oils and textured surfaces can affect adhesion, so real-sample testing is important.
Use the selection table above as the starting point. For badges, provide the final blank material and finish, rim, pin or backing details, fixture method and expected handling environment so the setup can be checked with samples.